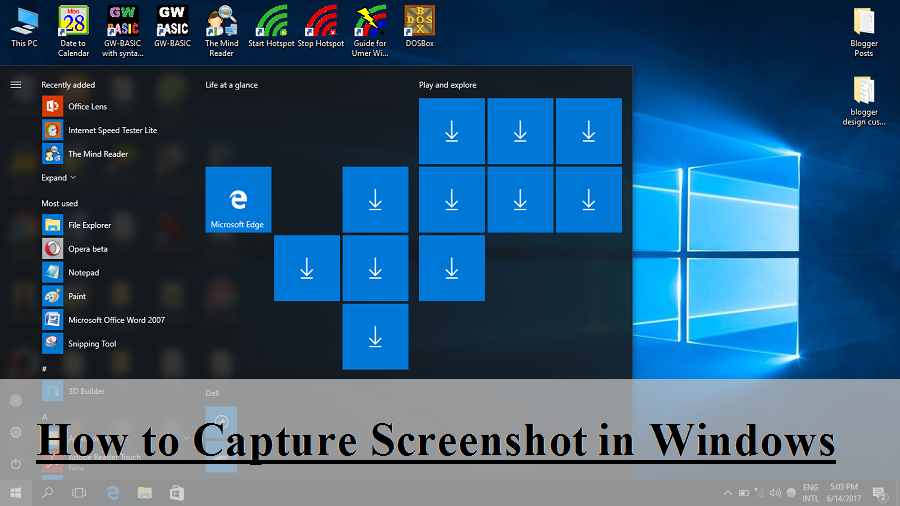
Capturing Screenshots in windows is simple yet useful but still some people do not know how to to capture screenshots in Windows. Here I am going to tell you how to capture a screenshot in Windows.
METHOD 1 (Old method)
1.Find the print screen key on your keyboard and press it. It will copy the screen to your clipboard. The print screen key is usually labeled “Prt Scr”, “Prt Sc” or “Prt scrn”. You can see it in the picture below:
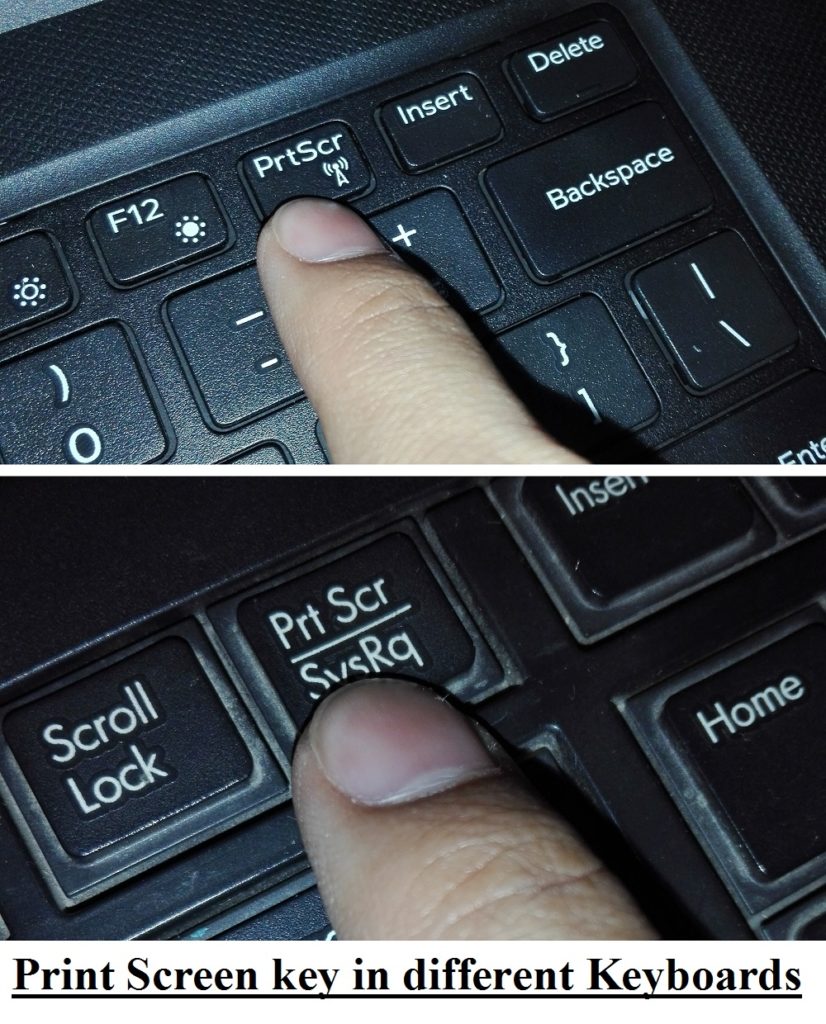
The location of print screen key in different keyboards is shown in the picture below:
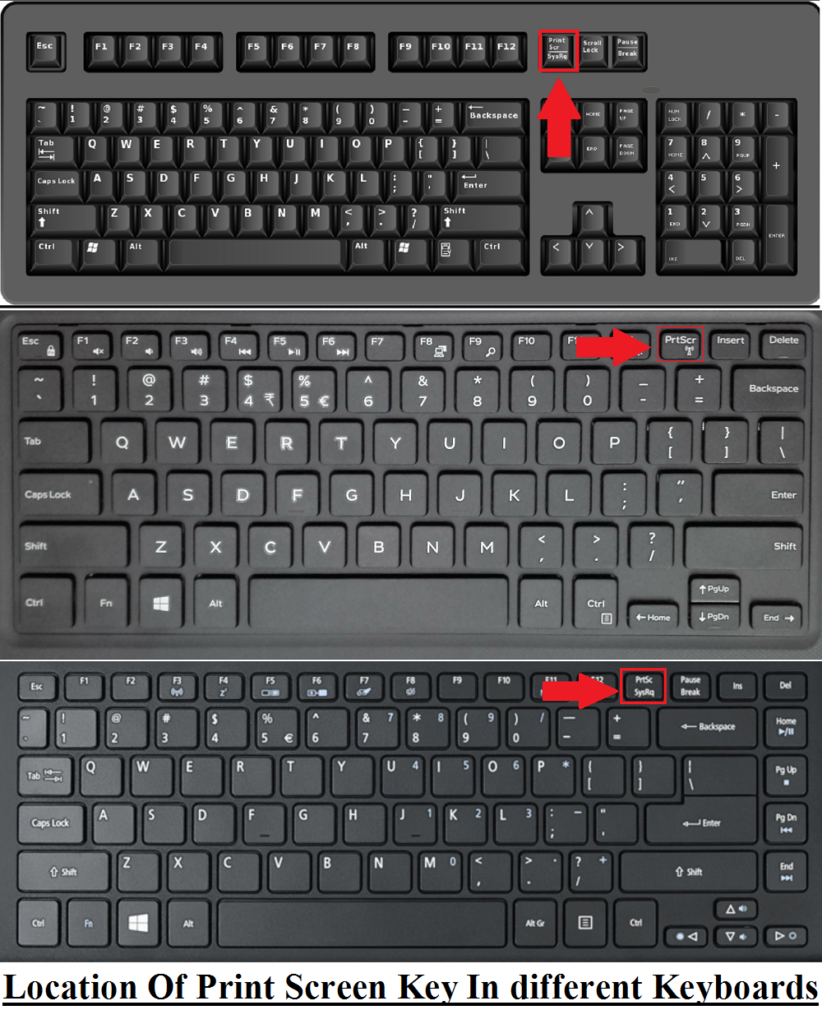
You can also press Alt + PrtScr to capture only active window.
Note: In some keyboards you will have to press Fn and then press print screen. Refer to your keyboard guide for more details.
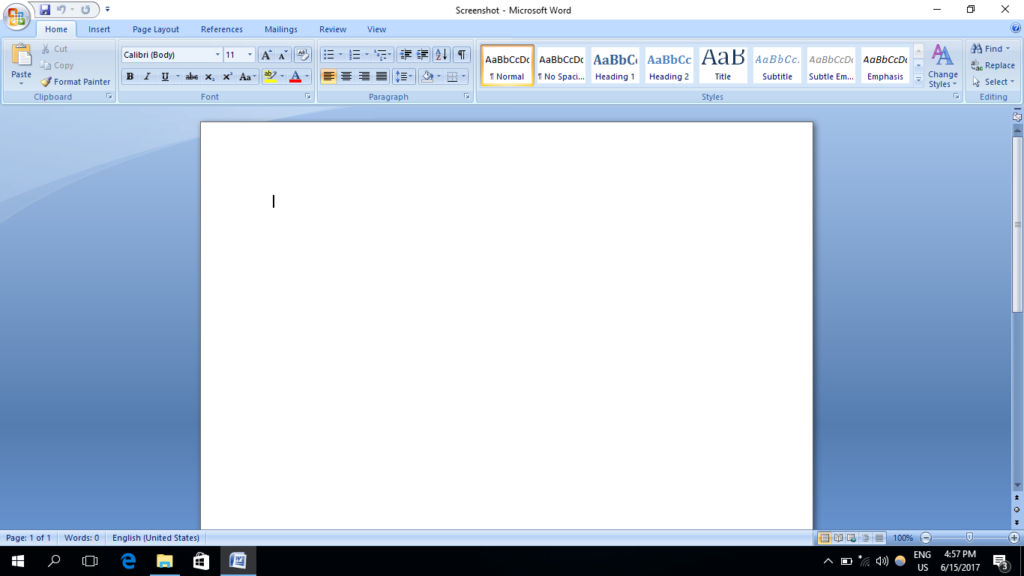
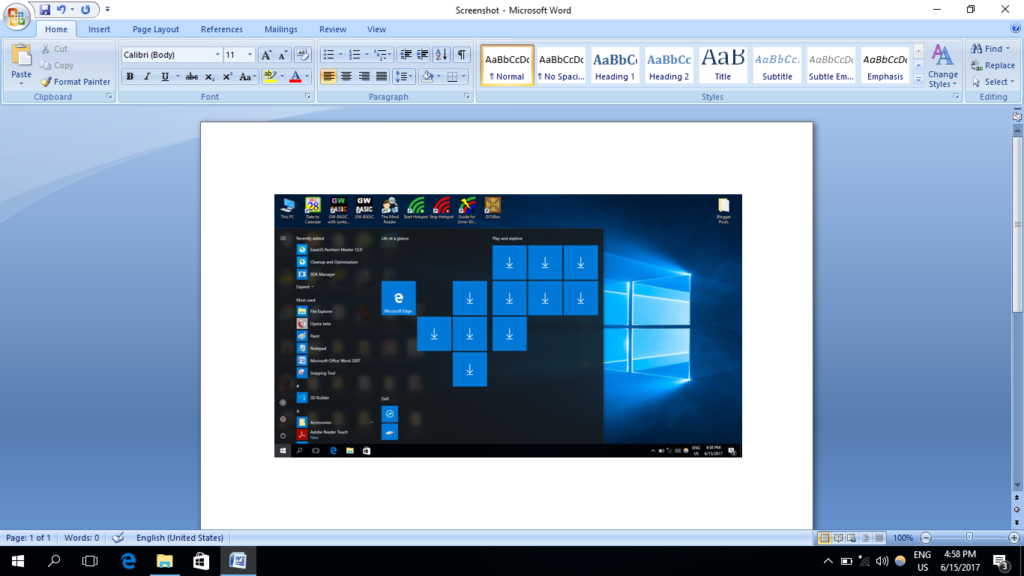
2. You can paste the screenshot in a word or power point or any other document by pressing Ctrl + V
Or you can get it as an image file.
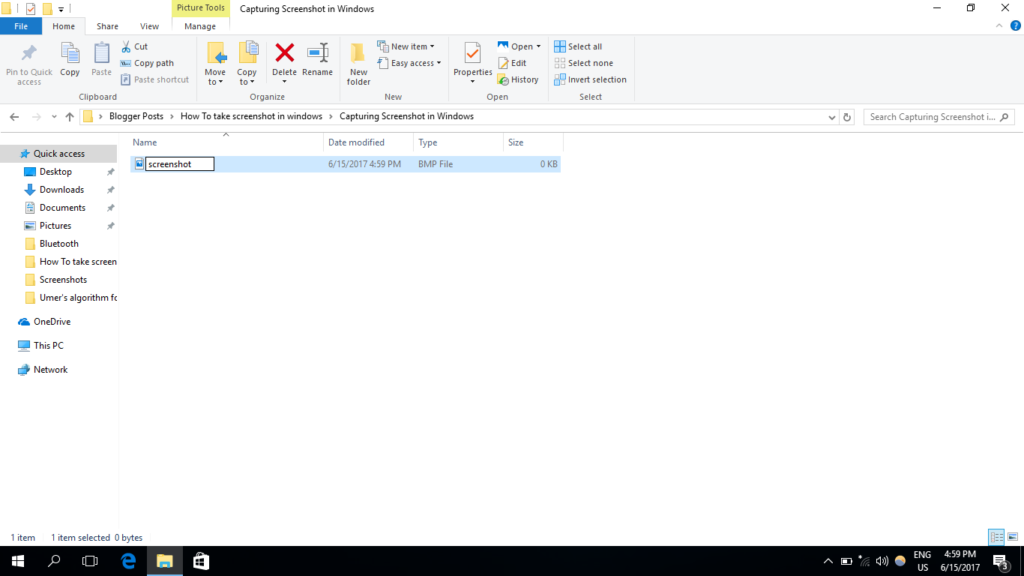
i. Open any location in the Windows explorer and right click the white area. Then select new.
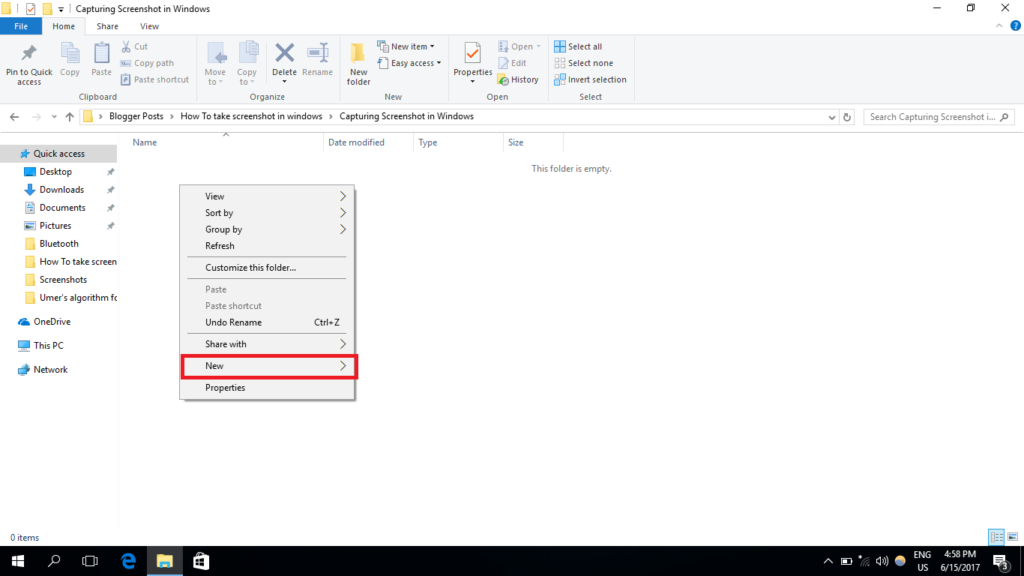
ii. Select Bitmap Image

iii. Type a name for your screenshot and press enter to save.
iv. Right click the image file you have just created and select edit from the menu
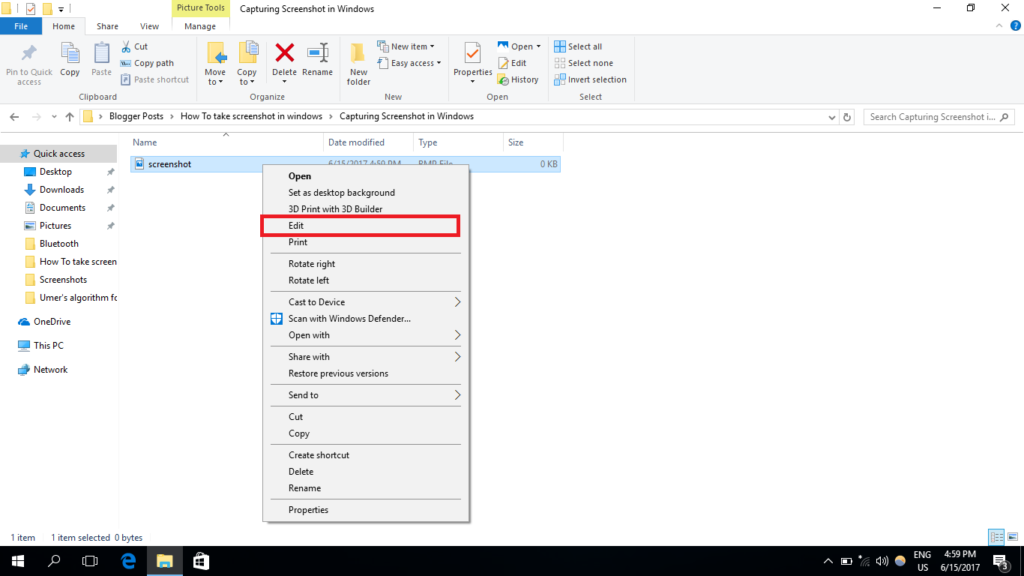
v. A blank image will open in paint
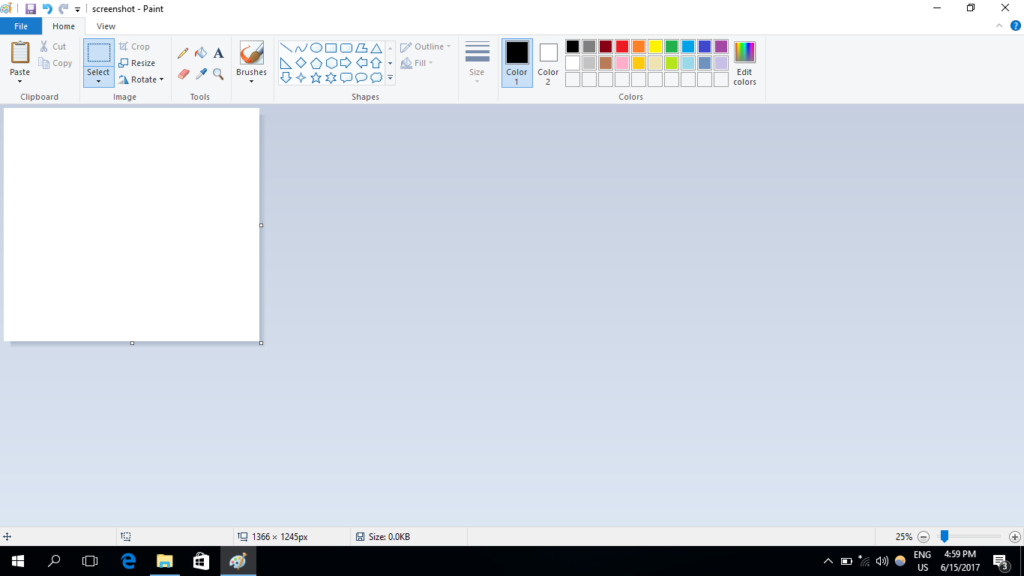
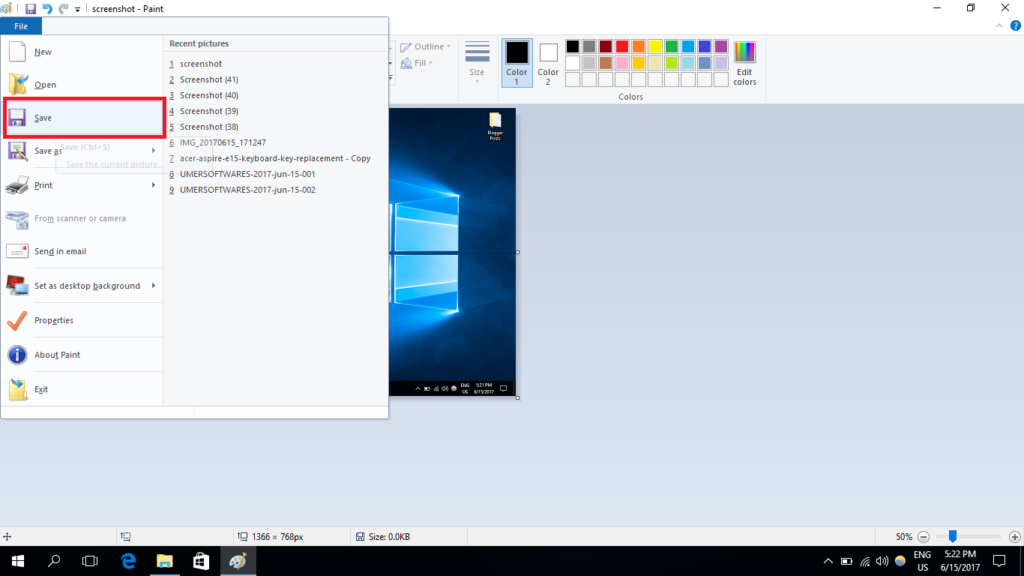
vi. Press Ctrl + V and then Ctrl + S or you can select file as shown and then click save.
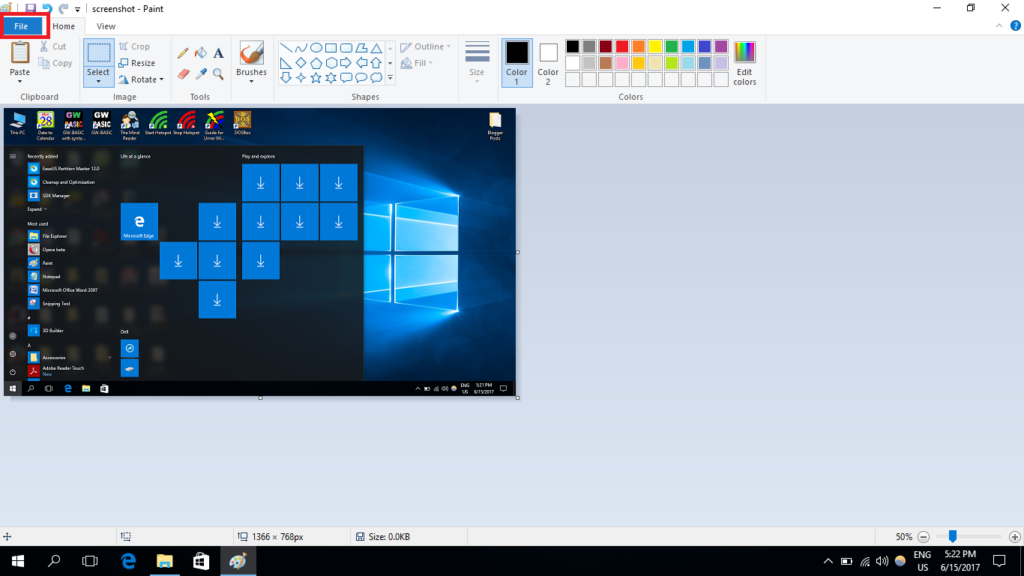
vii. Your screenshot will be saved.
METHOD 2 (New method only works with Windows 8 and later)
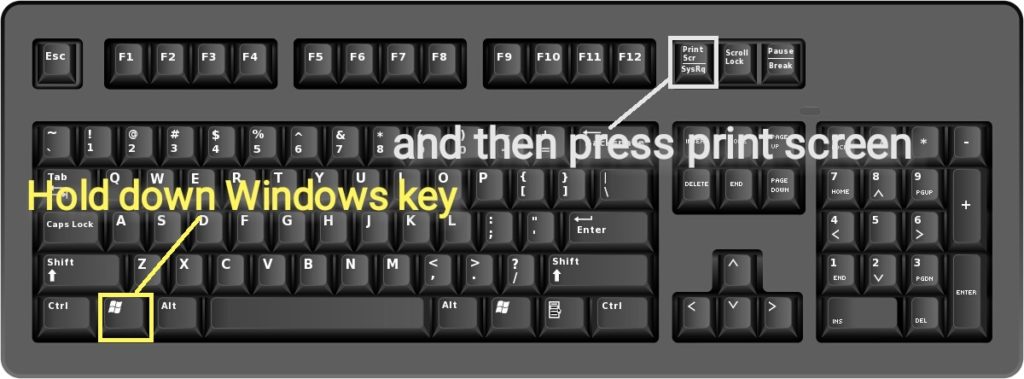
First of all locate the windows key on your keyboard as shown in the screenshot (I know most of us already know about it)
Press Window key + Print screen (Hold down window key and press Print Screen). On doing this, your screen will flash and a screenshot will be saved to your Pictures/Screenshots folder. It is very easy.
METHOD 3 (Using a third party program)
Here the application I am going to use is Snapper (by Ovosoft). You can see the icon below.
Just download the file and launch it. You can use the settings tab to change settings
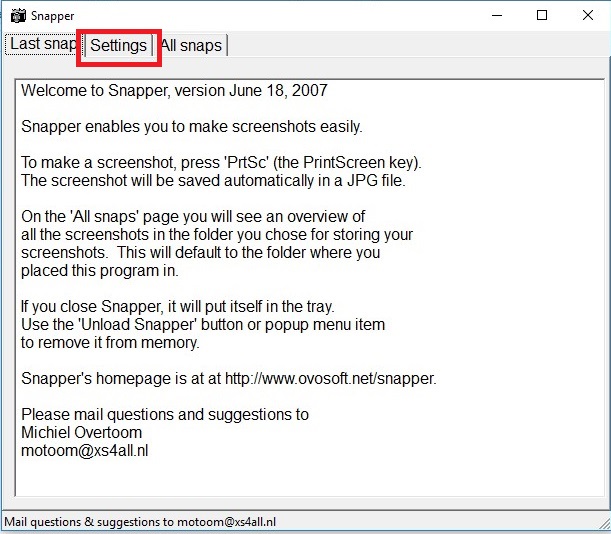
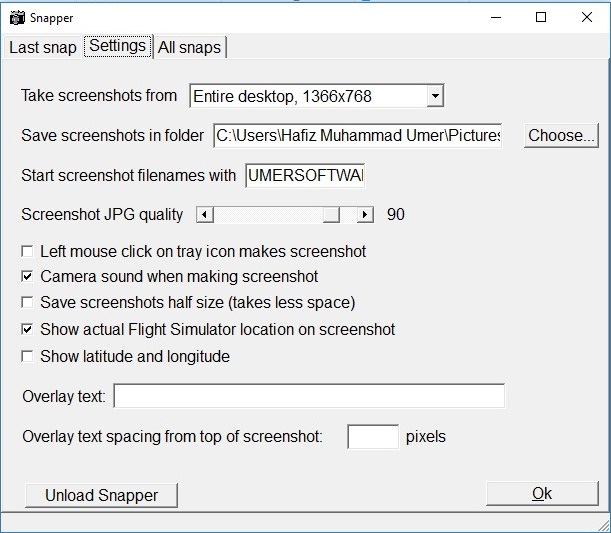
When this software is running in background, every time you press Print Screen or Alt + PrintScreen it will save the screenshot to the path you have set in the settings. Be careful that when you turn on or restart your PC you will have to manually launch it in order to work. You can also make it automatically launch at startup. Click here to learn how to make it automatically launch at startup.
Make sure to share this post with others