The “New” context menu in Windows allows you to create new files of various types. You can also add file types of your choice in the new menu by following the steps below:
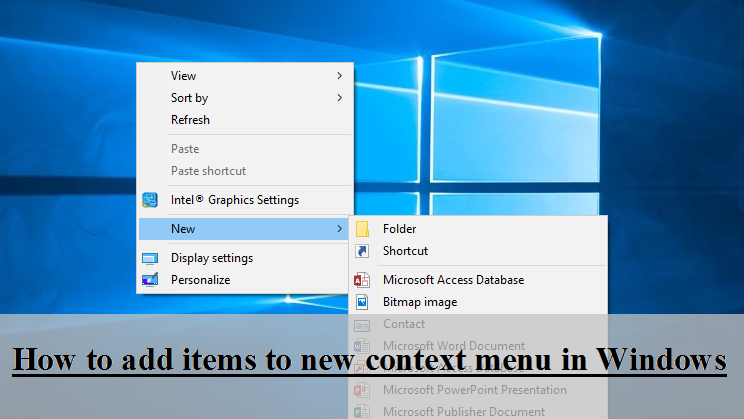
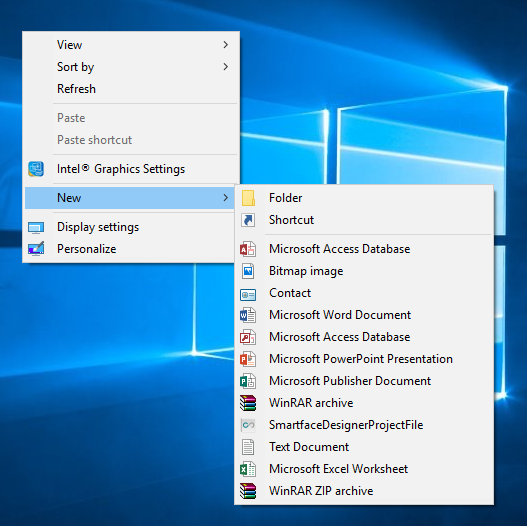
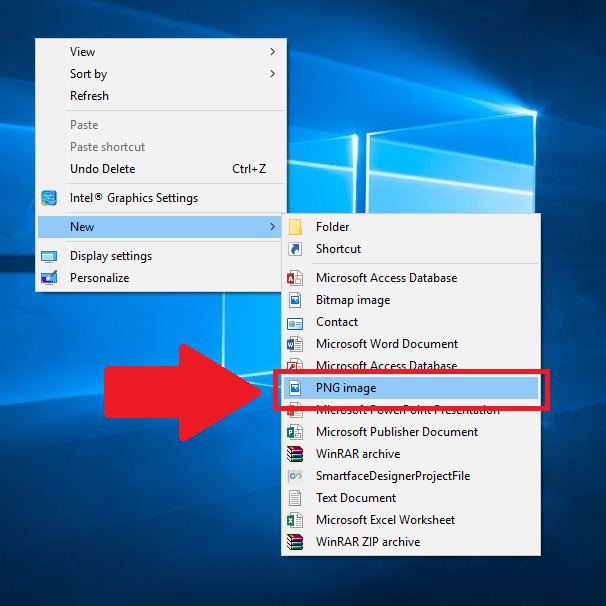
1. First Right Click and select ” New” . Make sure that the file type you are going to add in the new menu is not already present there. In this example, I am going to add a PNG image (*.png) to the new menu.
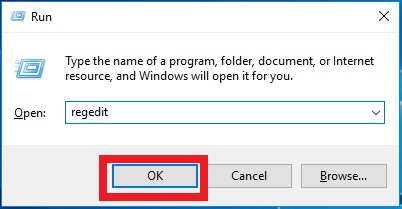
2. Press Window Key + R to open run.

3. Type “Regedit” and press “OK”.
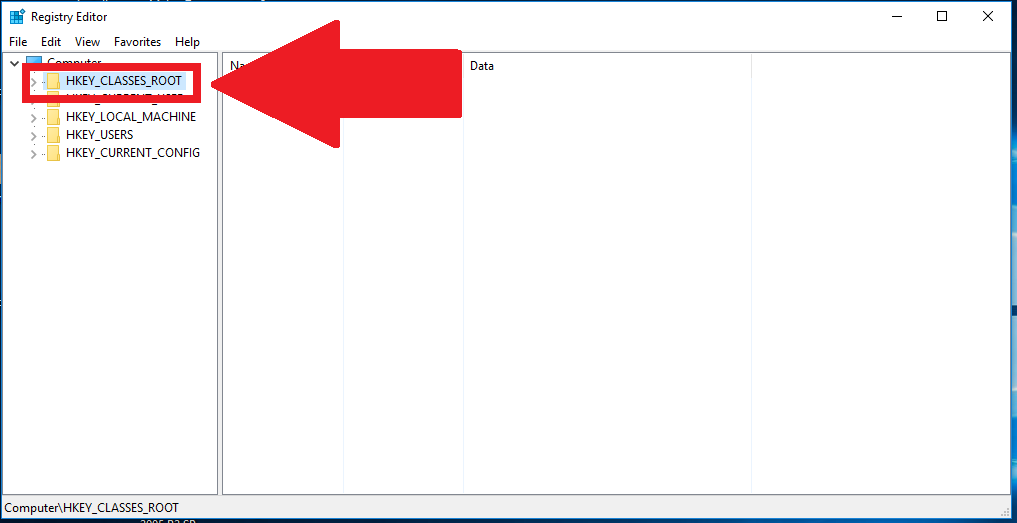
4. Double click on ” HKEY_CLASSES_ROOT” to expand it.
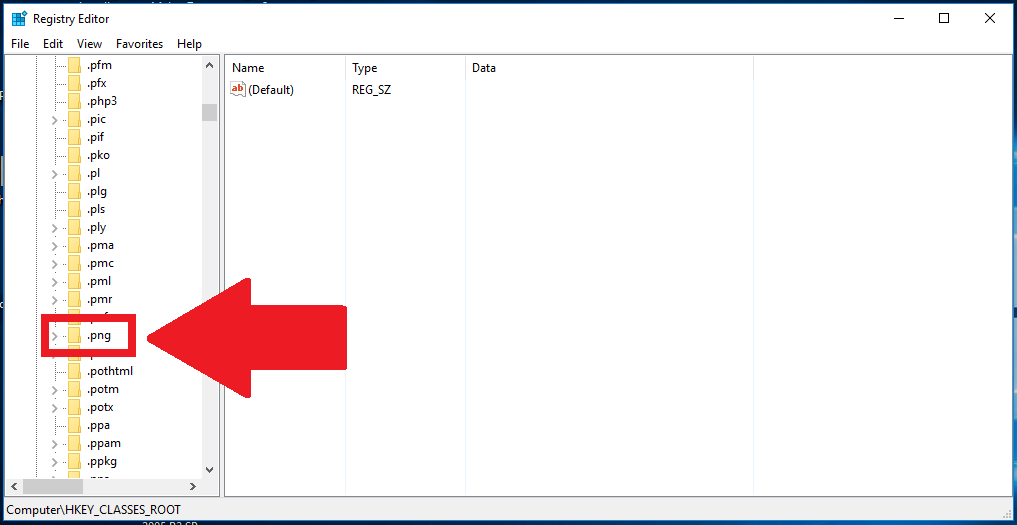
5. Scroll down and find the file extension you want to add to the new menu. They are listed in the alphabetical order. You can find them in the same way you find a word in the dictionary.
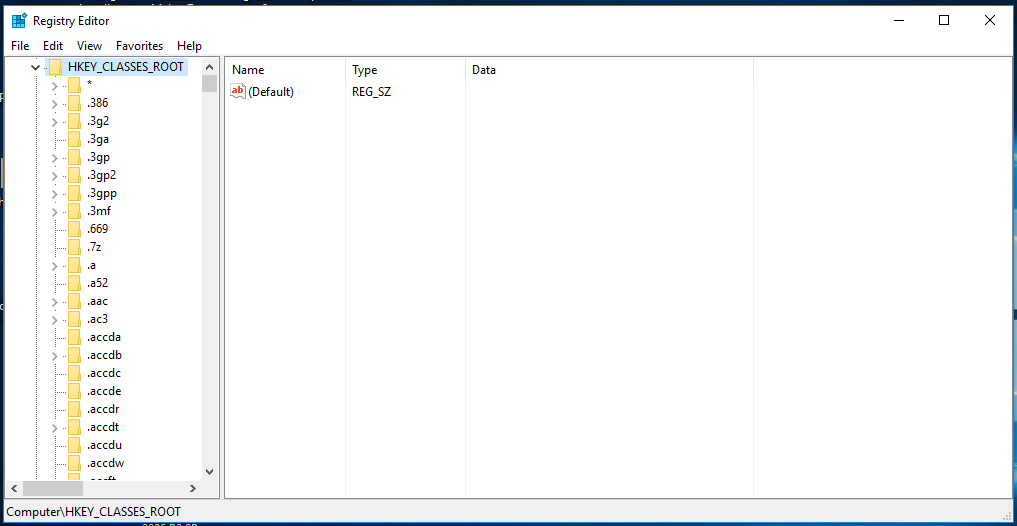
6. Once you have found it, right click the file extension.
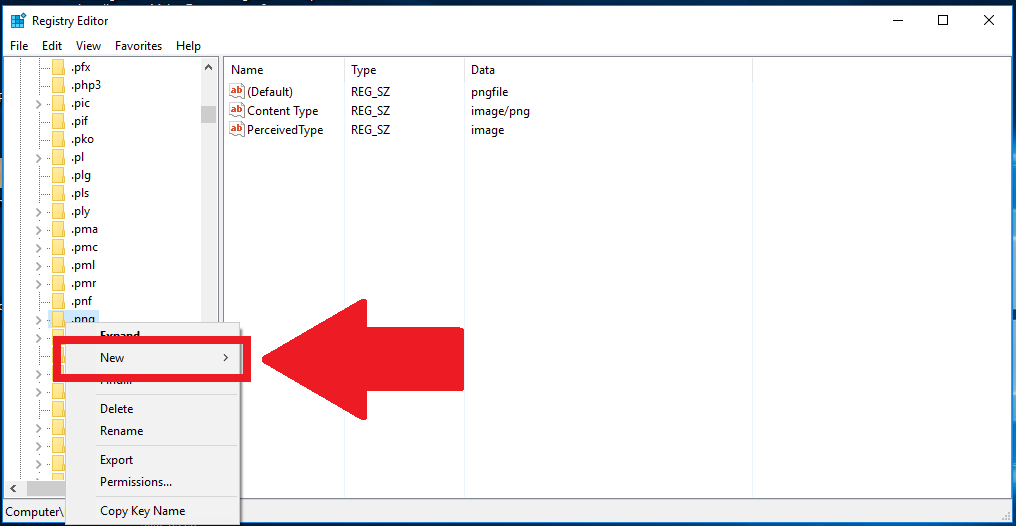
7. Select ” New” from the menu that appears.
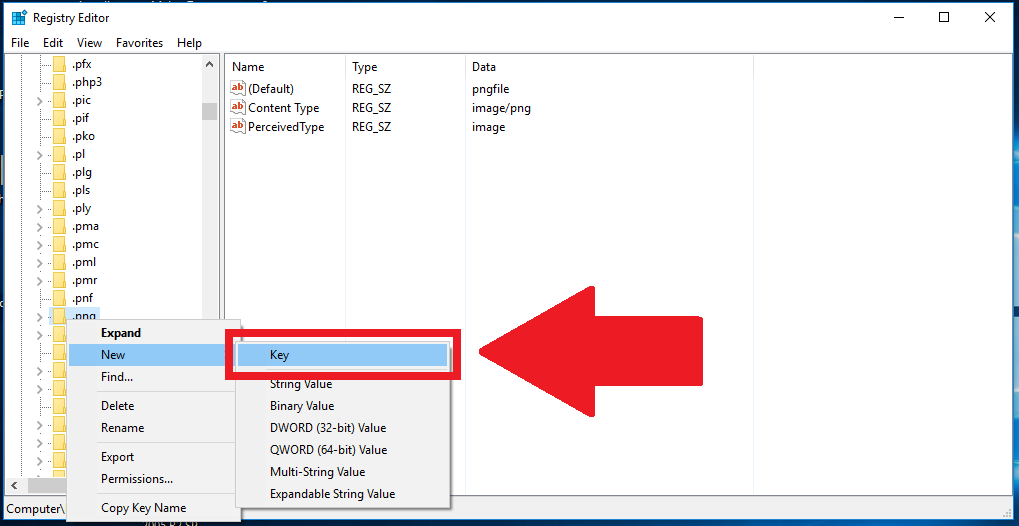
8. Select ” Key”.
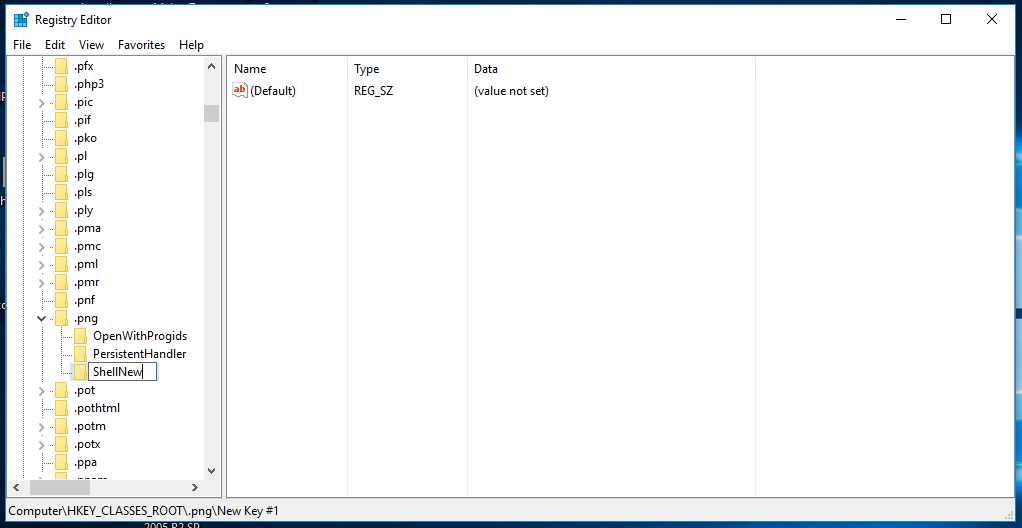
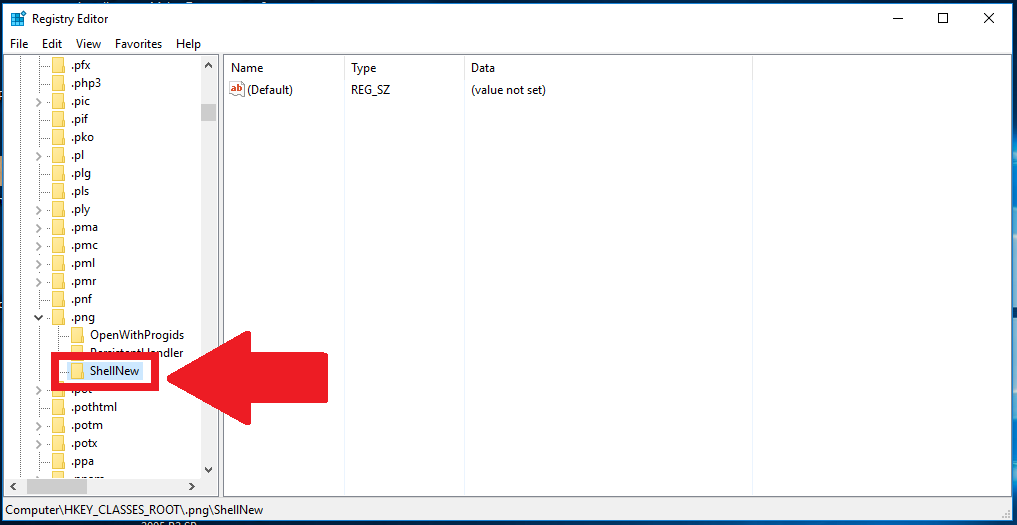
9. Name it “ShellNew” (without quotes) and press enter.
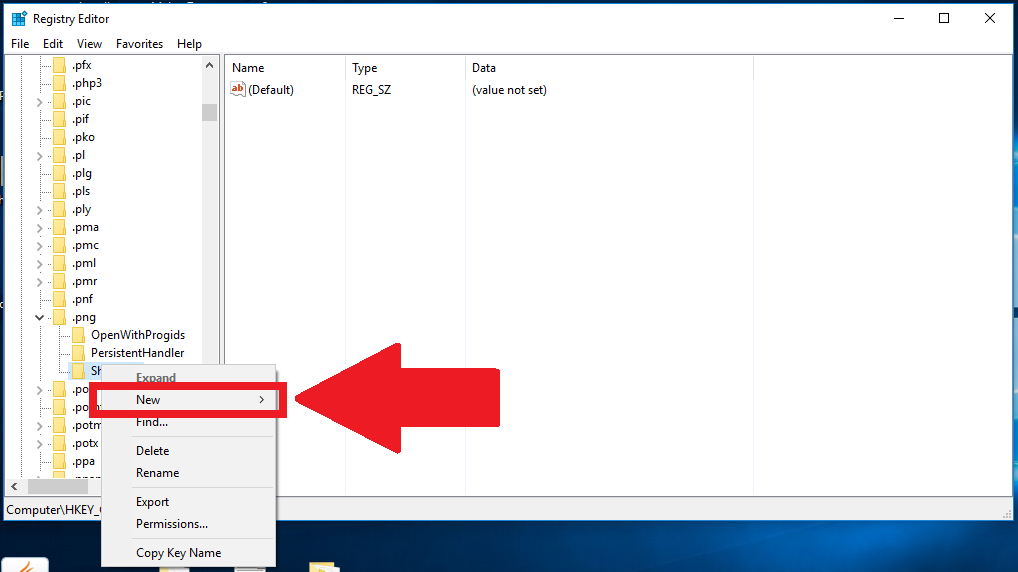
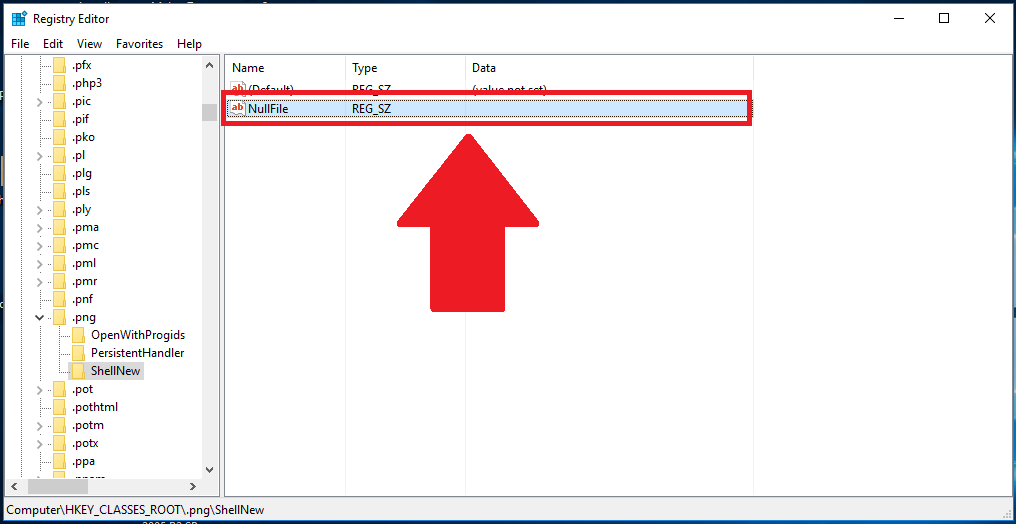
10. Right Click the “ShellNew” key you have just created.
11. Select “New” from the menu that appears.
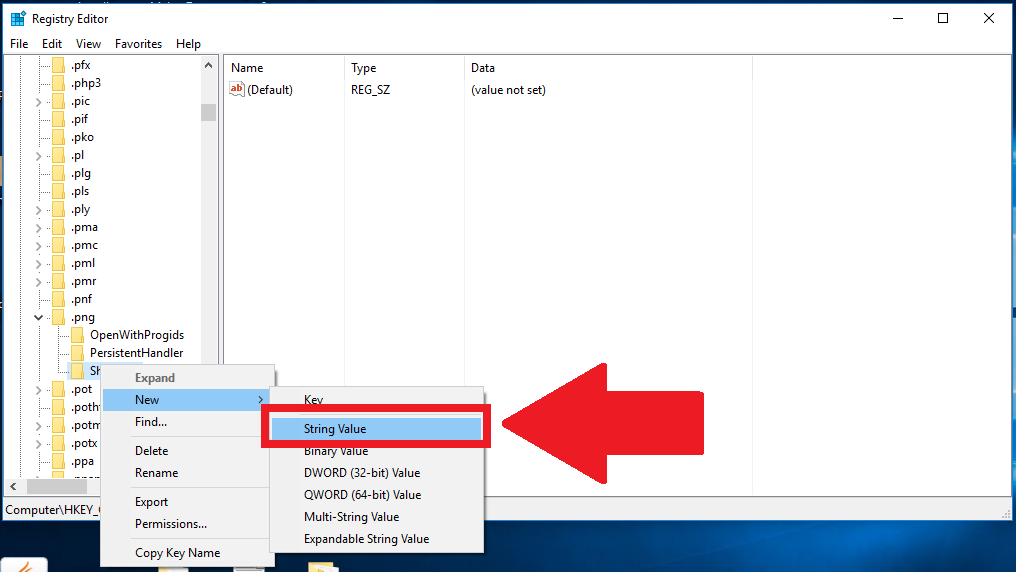
12. Select “String Value” from the next menu.
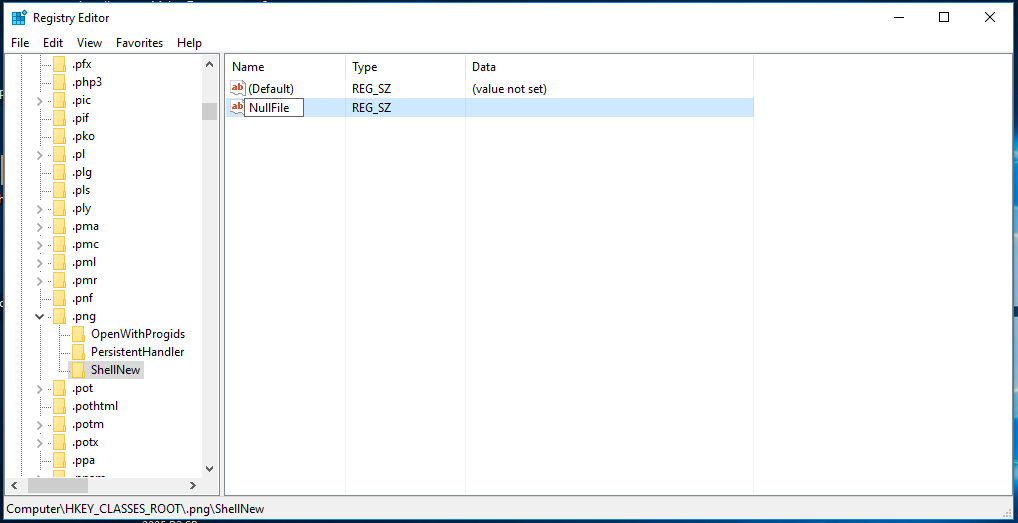
13. Give the name “NullFile” (without quotes) to the new string value you just created and press enter.
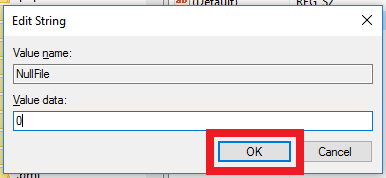
14. Double click the string value “NullFile” you just created to open it.
15. Type “0” (zero) in the box below “Value Data” and press “OK”.
16. You will have to wait for a few minutes for the item to appear in the new menu. You can also restart the computer. Finally the item will be available in the new menu.
Share this post via Facebook _ Twitter _ Pinterest _ GooglePlus _ Email _ Blogger _ WhatsApp