

Sometimes you want to use a program and Windows Defender does not allow you to use it and mark it as a threat to your PC. In this case if want to continue using that program you must allow it through Windows Defender by following the procedure below. Please make sure that you trust the program otherwise it can cause damage to your PC. So use this at your own risk.
1. Press WindowsKey + I to open settings.
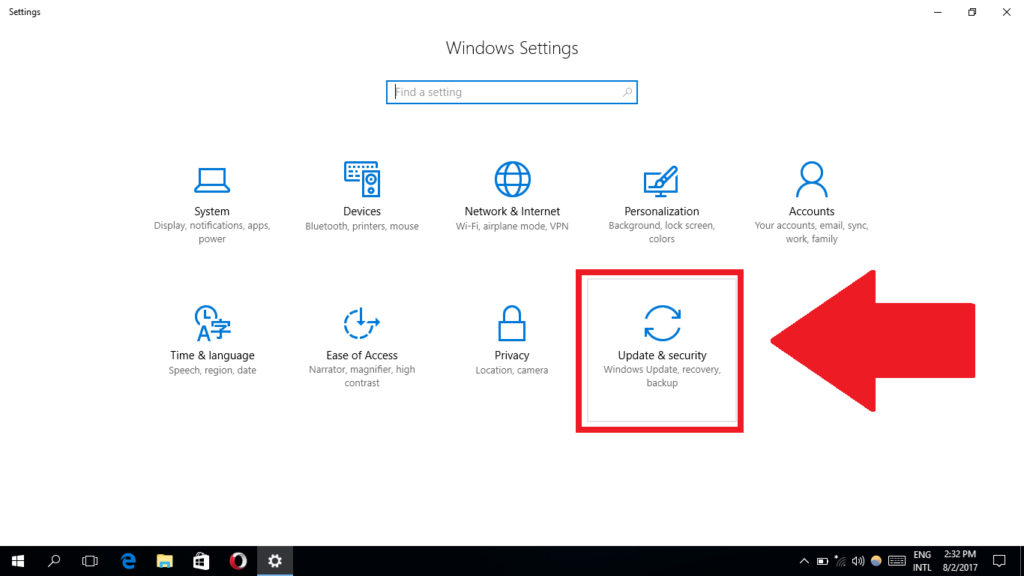
2. Open Update & security
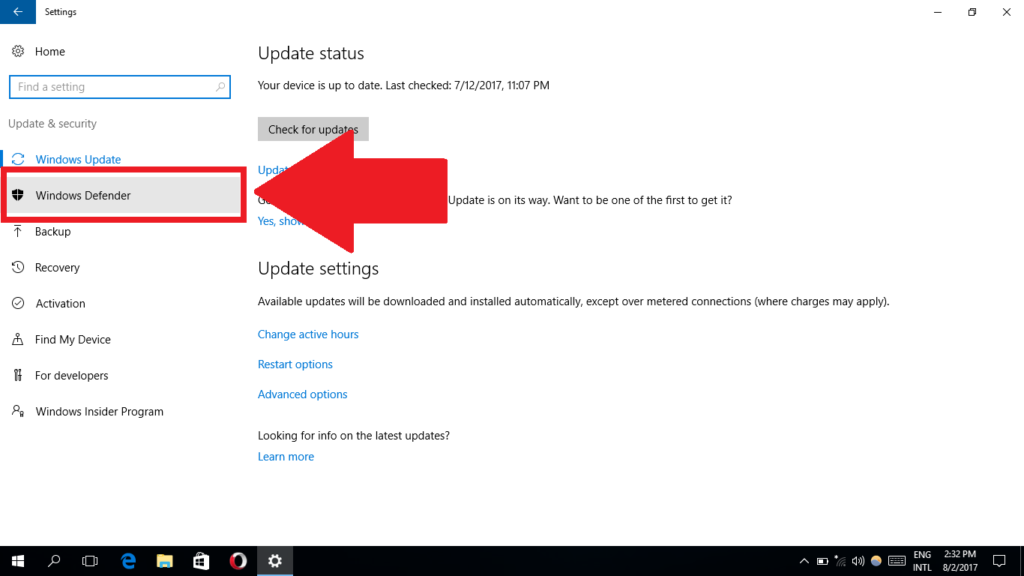
3. Open Windows Defender tab.
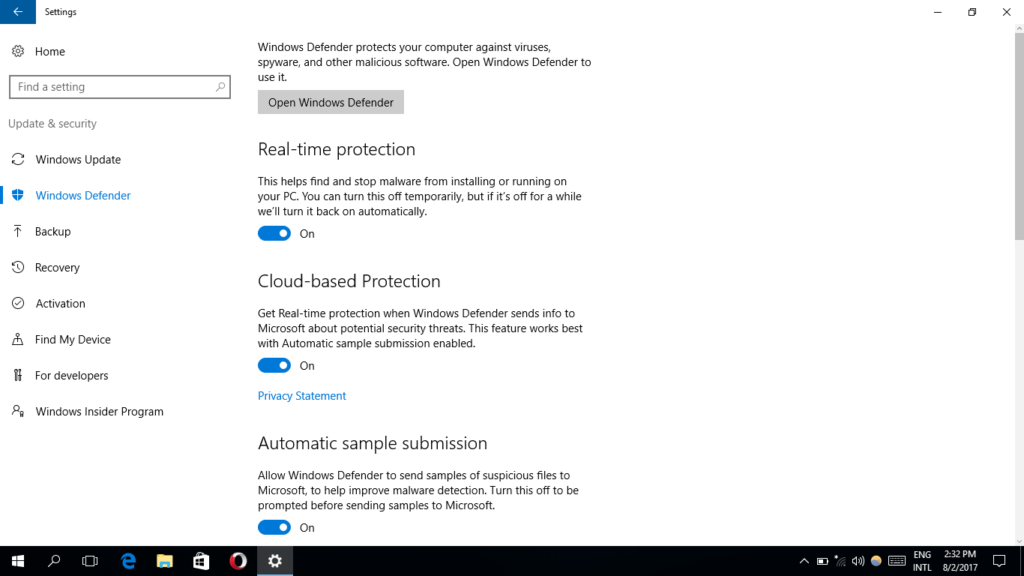
4. When Windows Defender tab opens, scroll down.
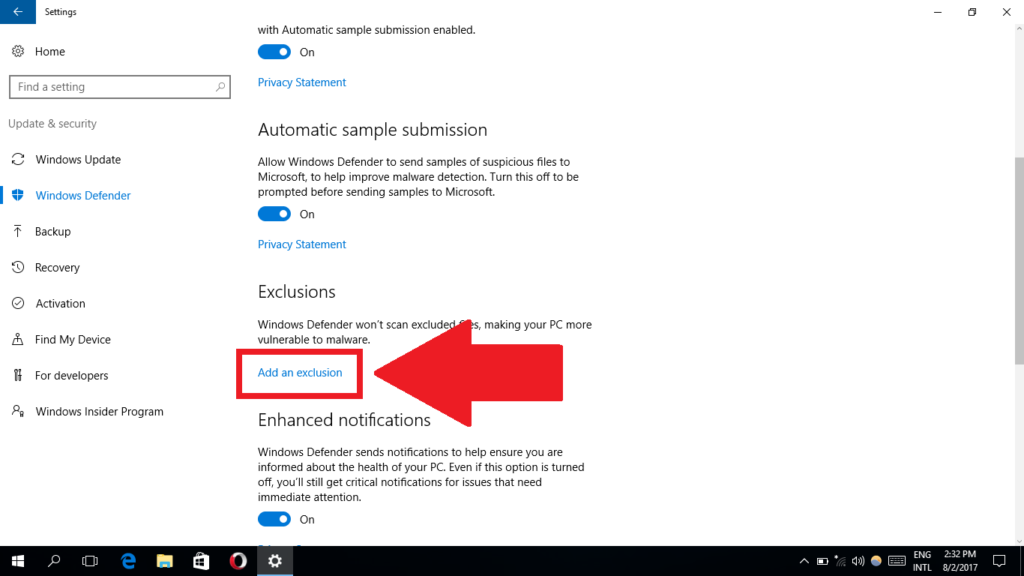
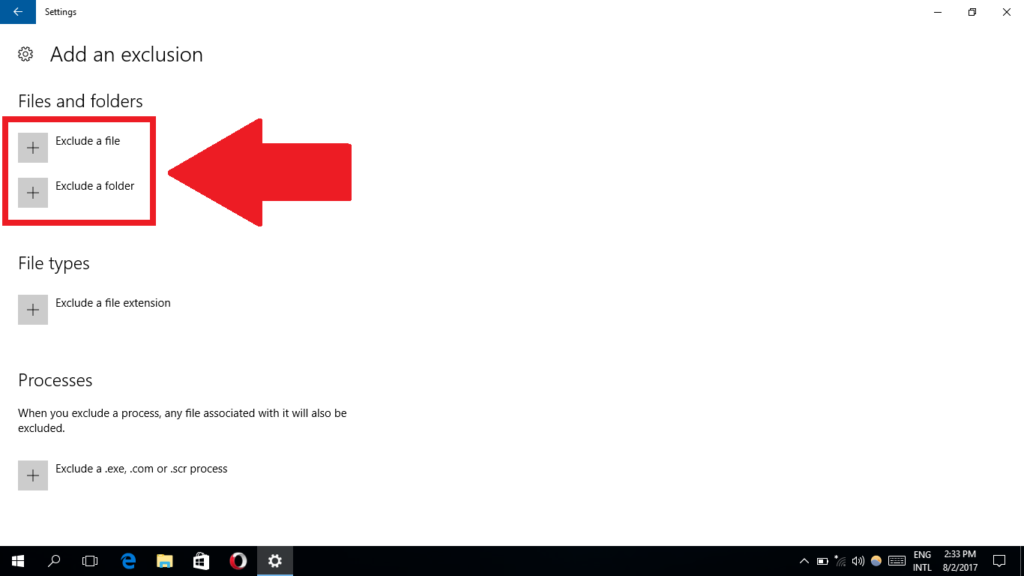
5. Under Exclusions , Click Add an exclusion.
6. Click on Exclude a file to allow a single file or click Exclude a folder if you have many items to allow in the same folder.
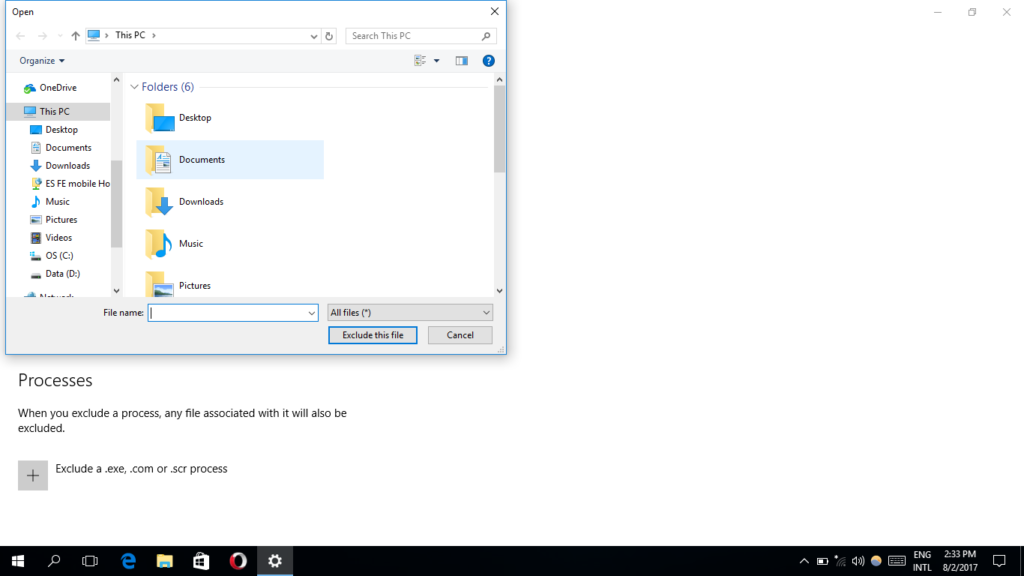
7. Another window will open. Navigate to the file/folder you want to allow.
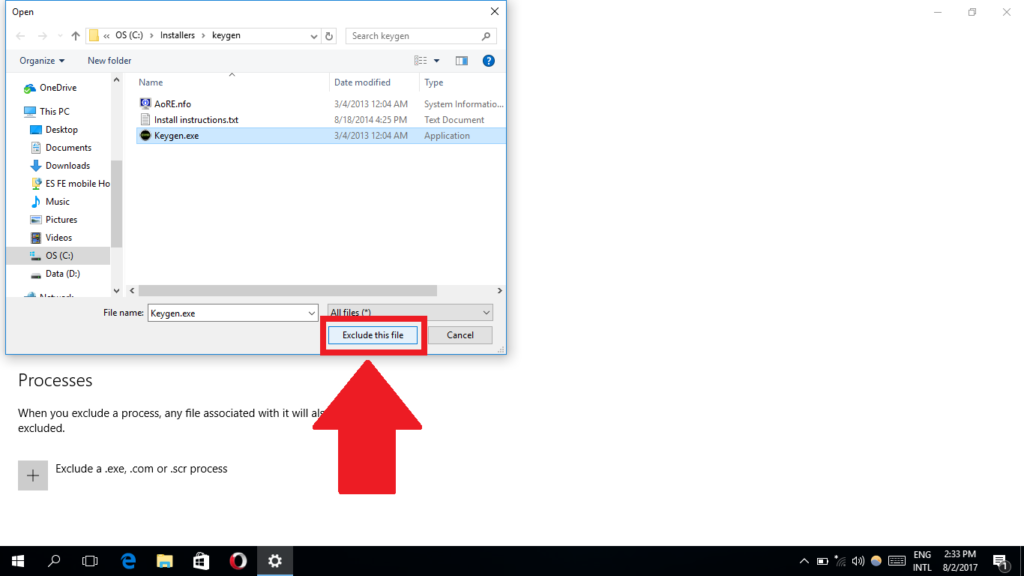
8. Select the file/folder you want to allow and click Exclude this file or Exclude this folder depending on what you have selected in the step 6.
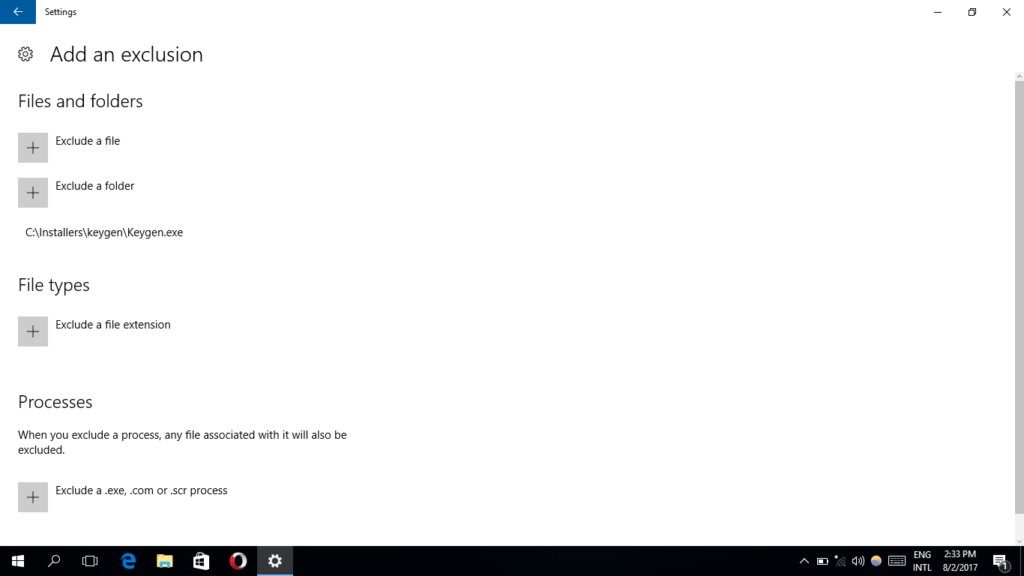
9. The file or folder will be added to the allow list of Windows Defender.
Share this post via Facebook _ Twitter _ Pinterest _ GooglePlus _ Email _ Blogger _ WhatsApp


Comments
Pretty section of content. I simply stumbled upon your blog and in accession capital to claim that I acquire in fact enjoyed account your blog posts. Anyway I will be subscribing to your feeds or even I achievement you get admission to constantly quickly.
Admiring the persistence you put into your site and detailed information you offer. It’s great to come across a blog every once in a while that isn’t the same old rehashed information. Great read! I’ve saved your site and I’m including your RSS feeds to my Google account.
After exploring a number of the blog articles on your web site, I truly like your technique of writing a blog. I added it to my bookmark website list and will be checking back soon.