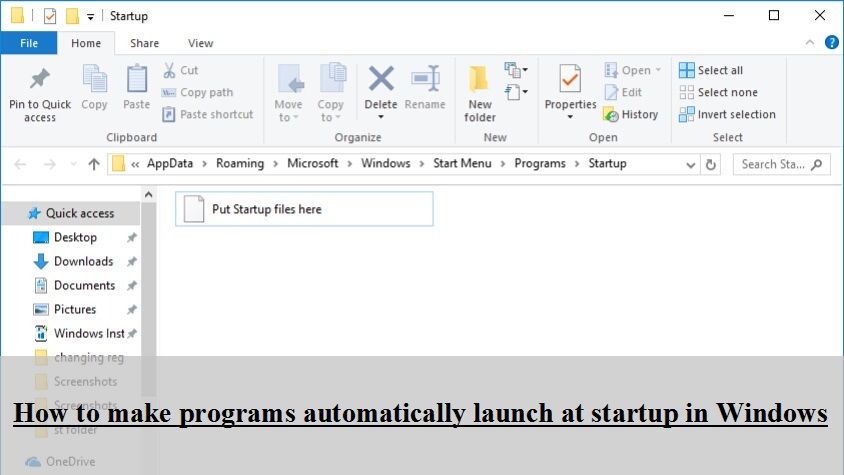
Sometimes when you install a program, it adds itself to the startup due to which causes it to automatically launch when you log in to Windows. In this article I will tell you how you can manually add a program to startup.
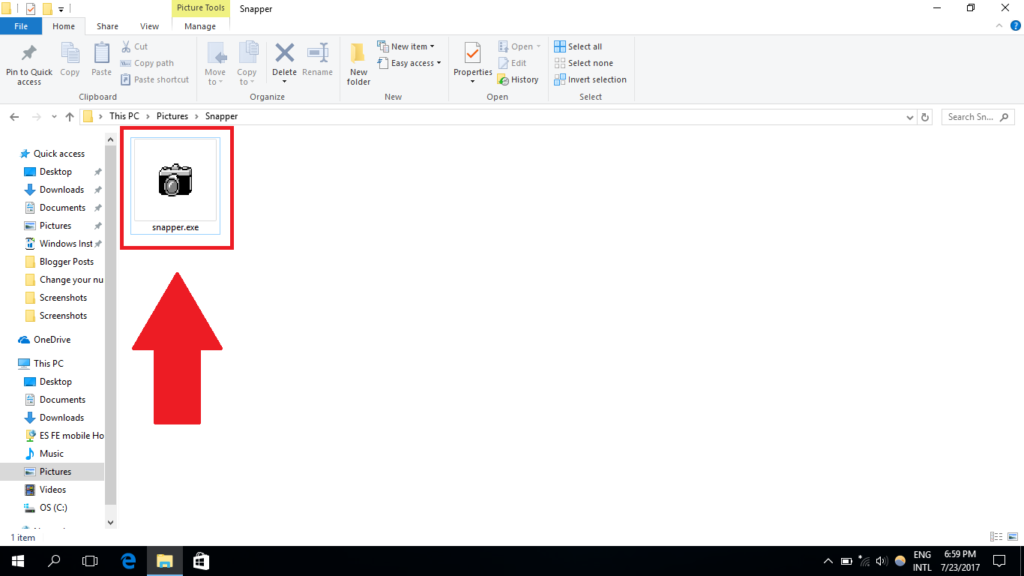
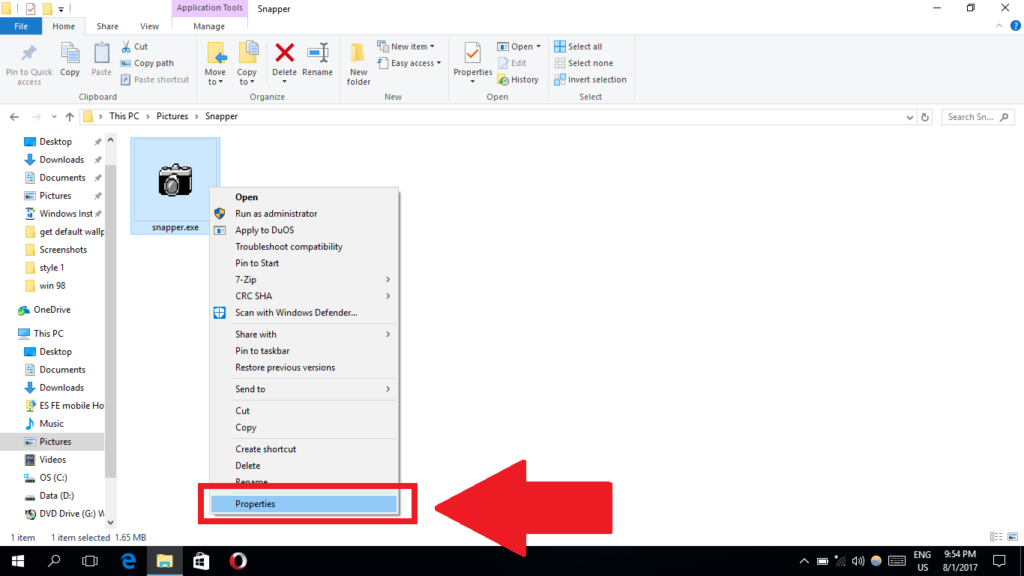
1. Find the program or file you want to add to startup and right click on it.
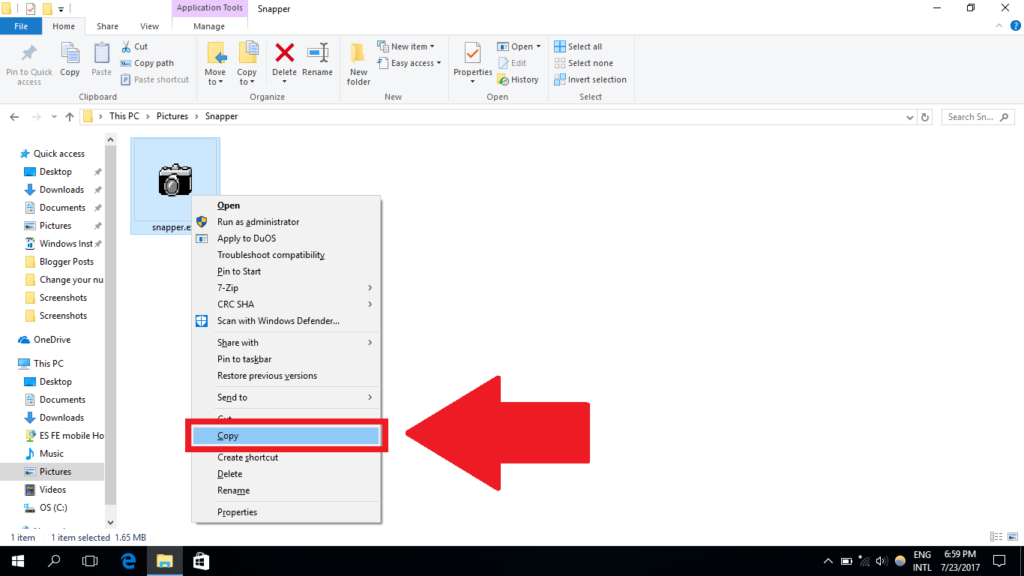
2. Select “Copy”
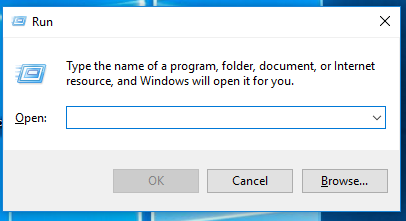
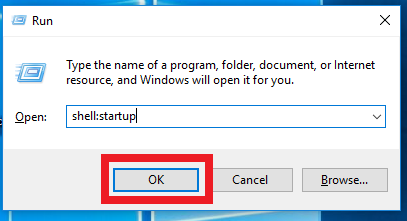
3. Now open run by pressing WindowKey + R
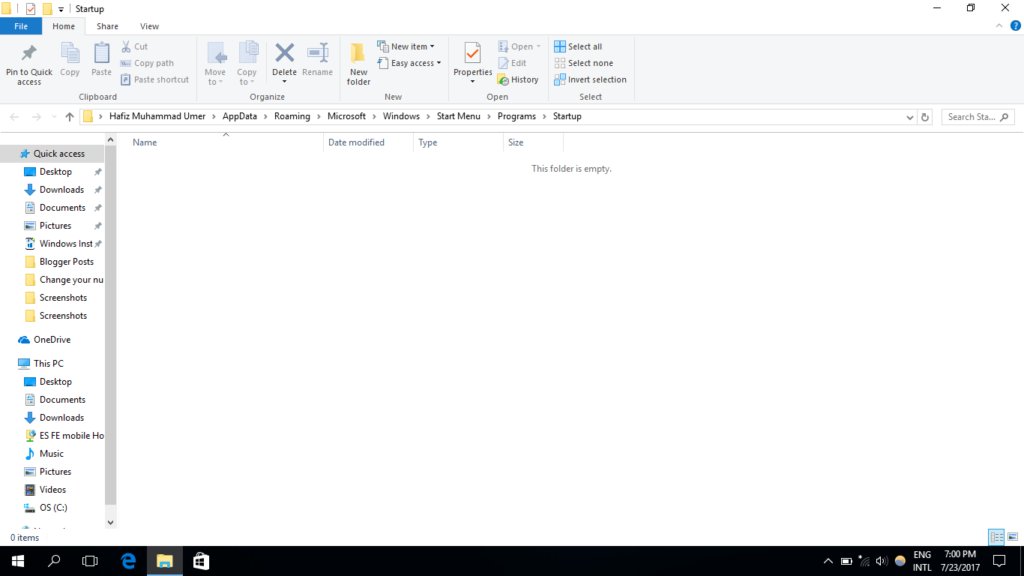
4. Type shell:startup and press enter or click OK
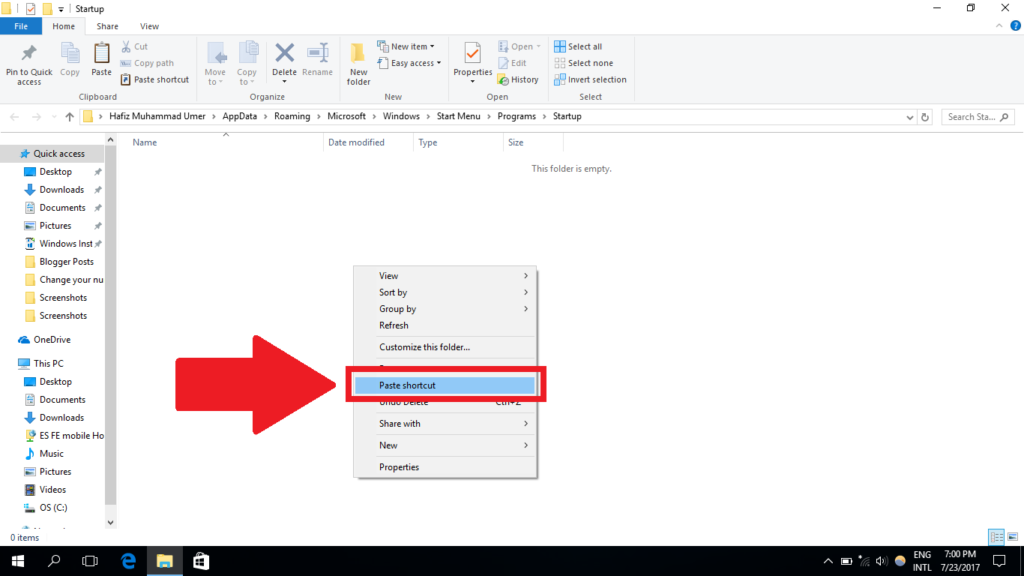
5. When the startup folder opens, right click the white area.
6. Select “Paste Shortcut”
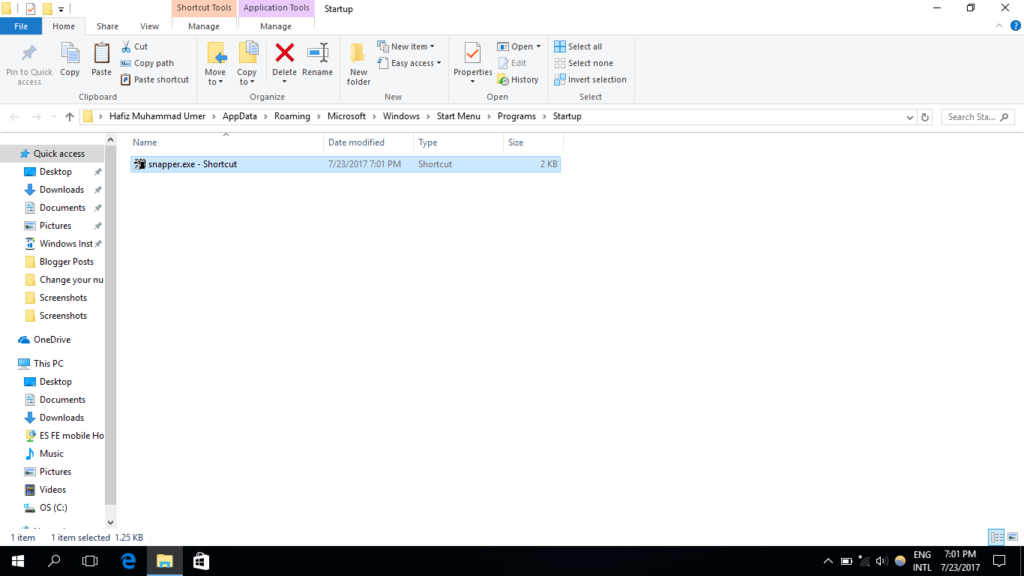
7. The program is now added to the startup list. It will automatically launch when you will log in to Windows next time.
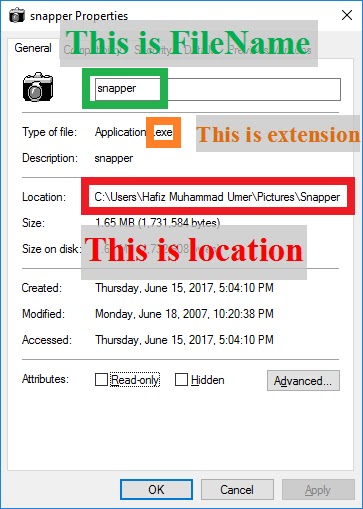
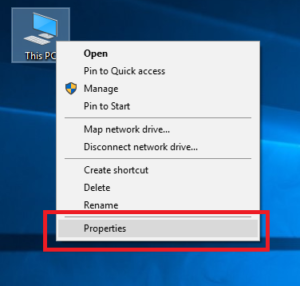
2. From the properties you have to note the location of the item (shown by red in the screenshot below), FileName (shown by green in the screenshot below) and extension (shown by orange in the screenshot below). Please note that if you are trying to launch a folder at startup, there will be no extension and the FileName will be the FolderName. You will need these in the coming steps. You can also copy paste these when needed if you do not want to note them down. If so, do not close the properties Window.
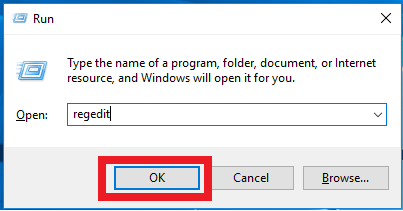
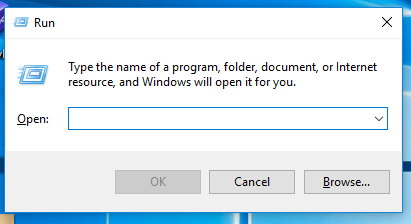
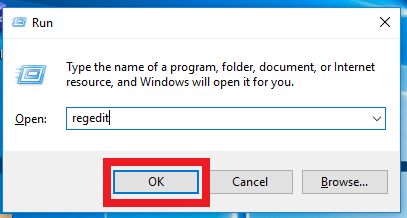
3. Press WindowsKey + R to open run. Type regedit and press enter or OK.
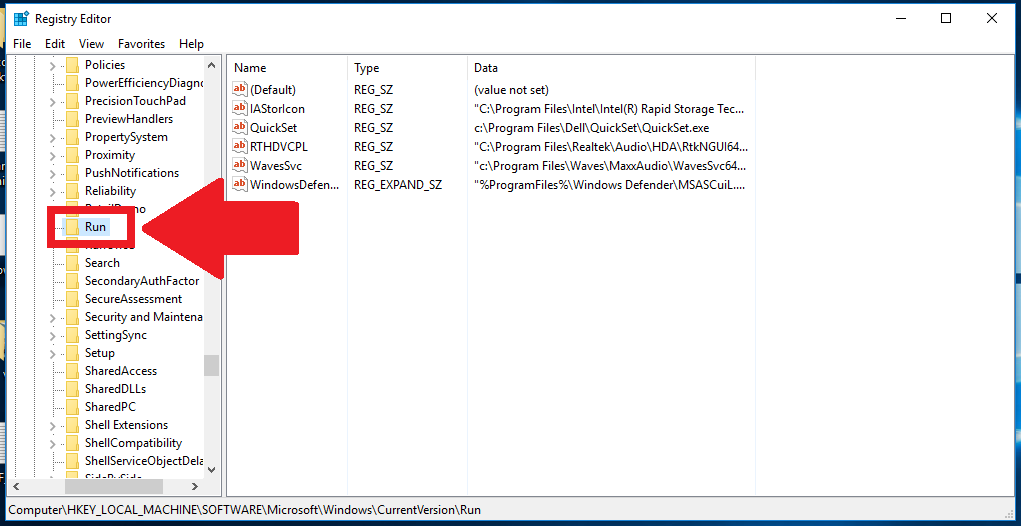
5. Click the Run key to see its contents in the right pane. (Make sure that Run is highlighted blue)
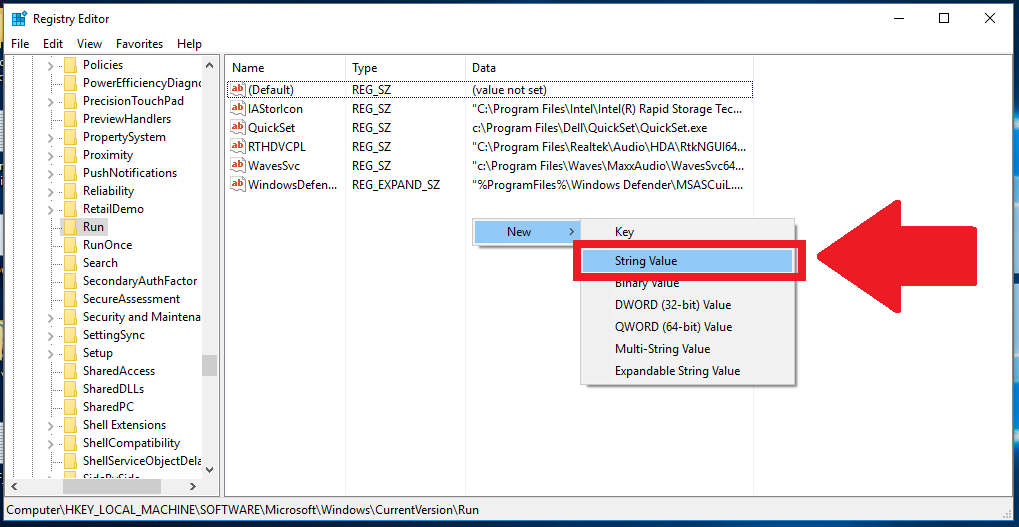
6. Right click in the right pane and select New >> String Value
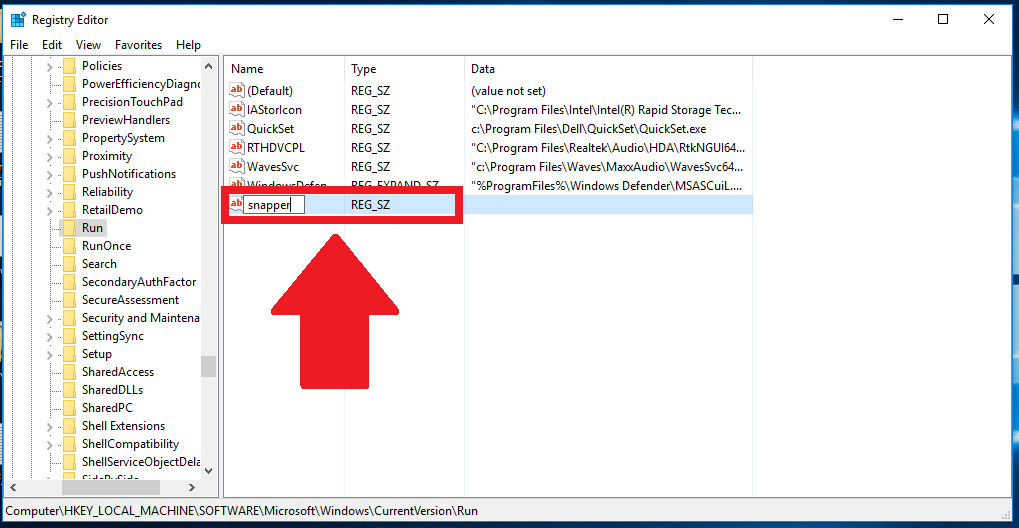
7. Type any name for the string value you just created (Make sure that the name you are going to type is not already used) and press enter.
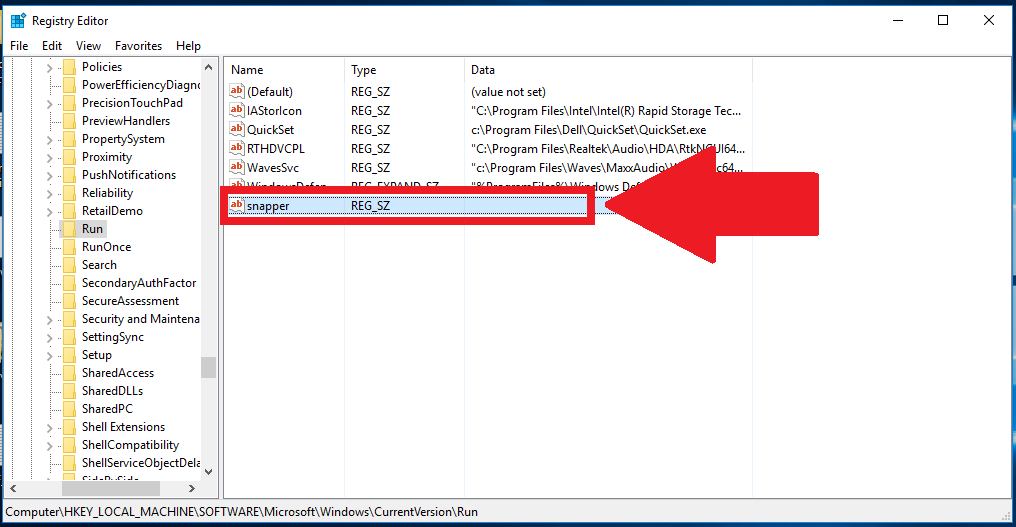
8. Double click the String Value you just created to open it.
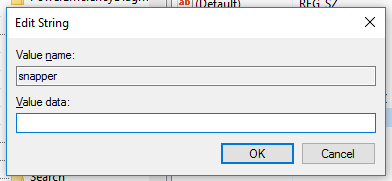
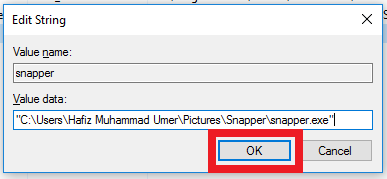
9. In the box below Value data, you have to type the Location, FileName and extension of the file you noticed in the step 2 in the following format:
10. After typing the Location, FileName and extension in the correct format that I told in the previous step, press OK. The file will launch at startup.
2. Type “regedit” (without quotes) and press enter.
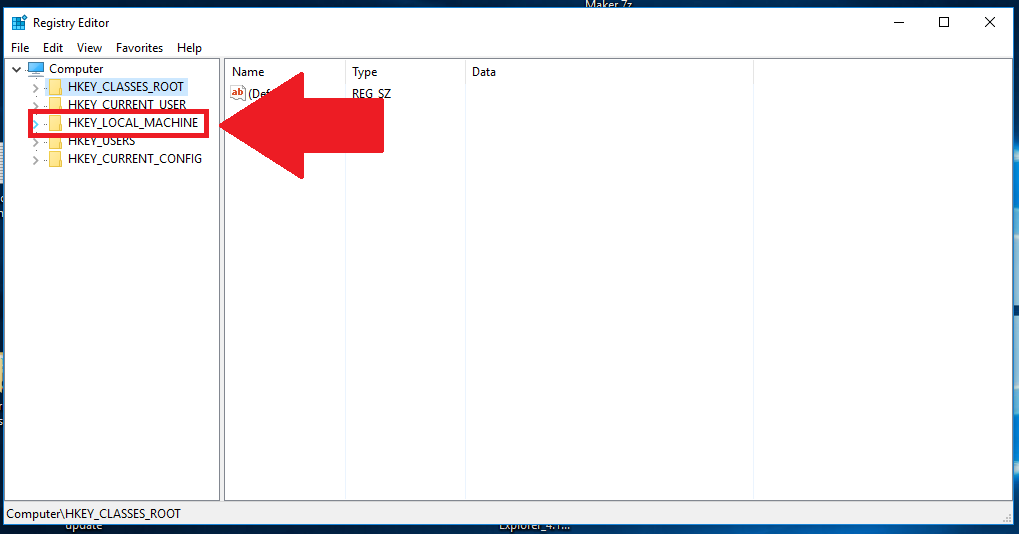
3. Double click on “HKEY_LOCAL_MACHINE”
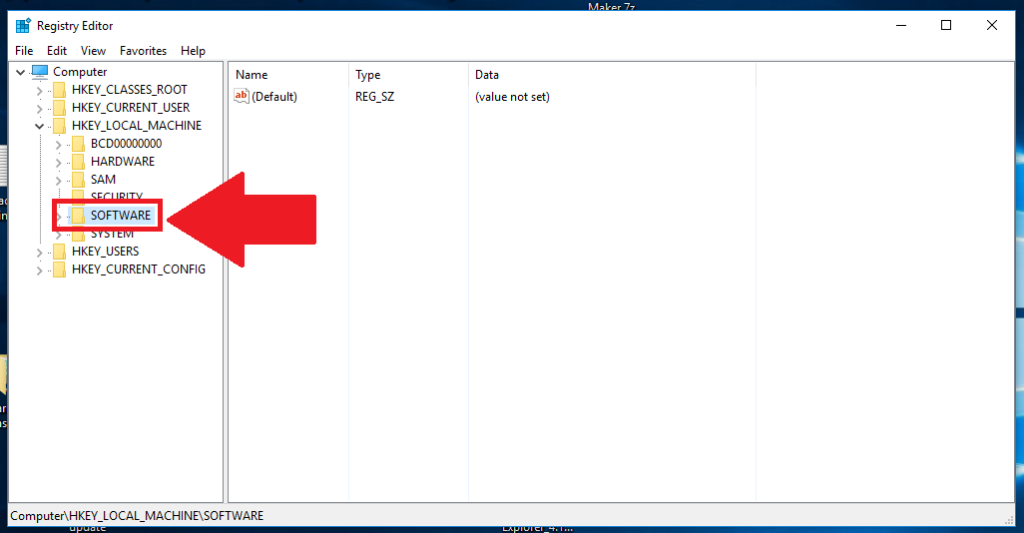
4. Double click on “SOFTWARE”
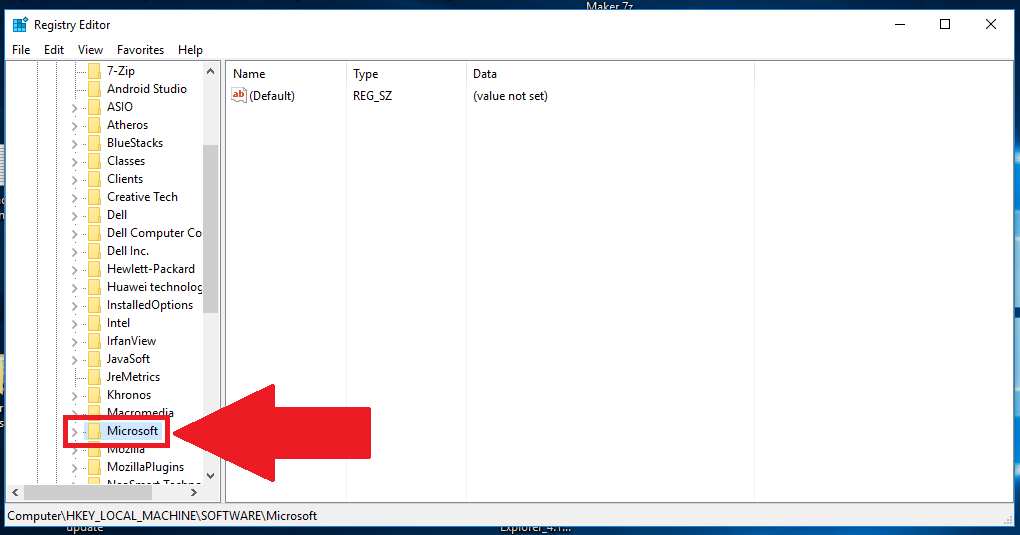
5. Scroll down and double click on “Microsoft”
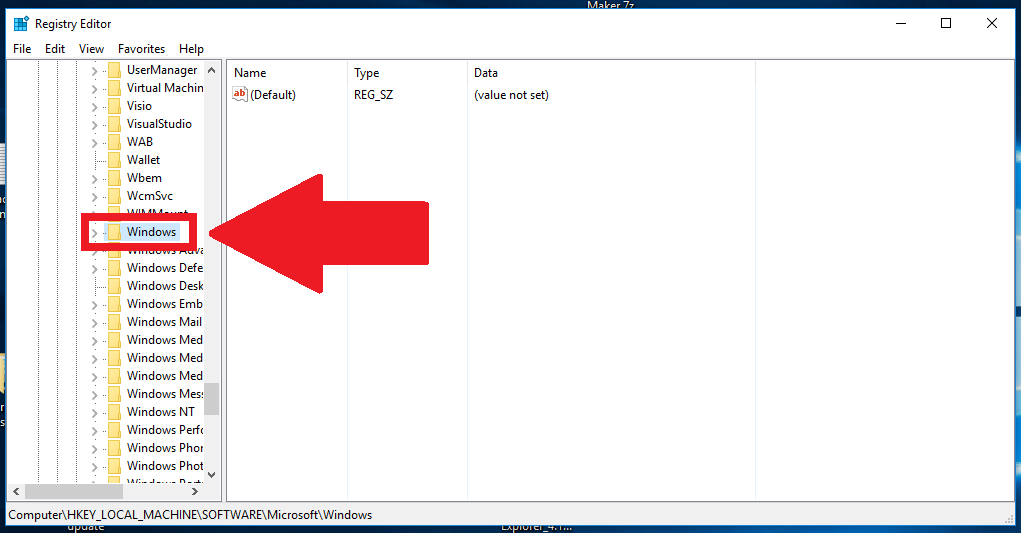
6. Scroll down and double click on “Windows”
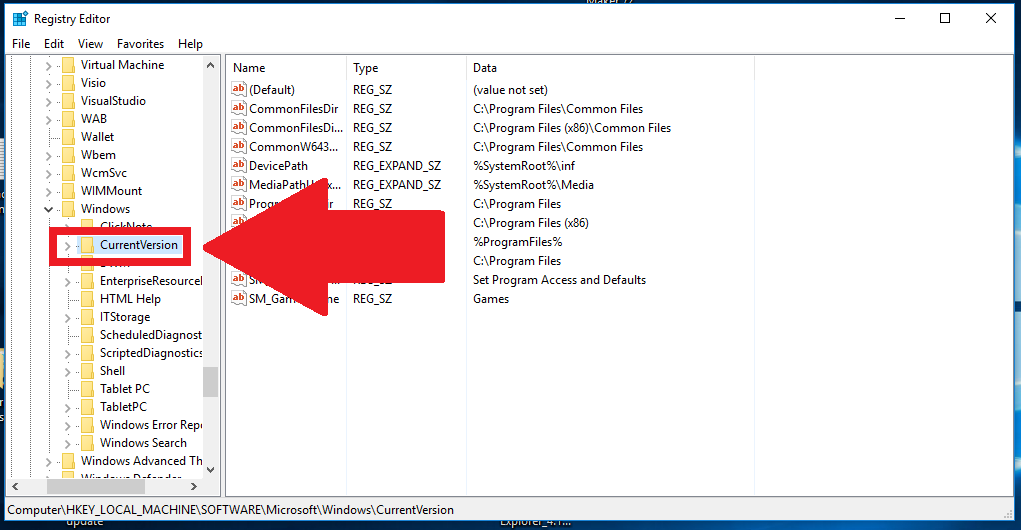
7. Double click on “CurrentVersion”
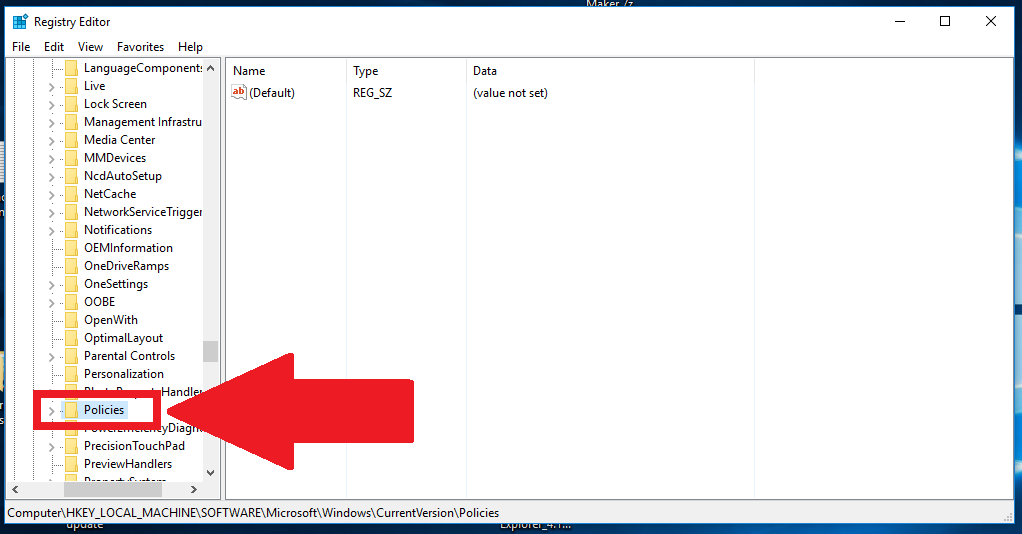
8. Scroll down and double click on “Policies”
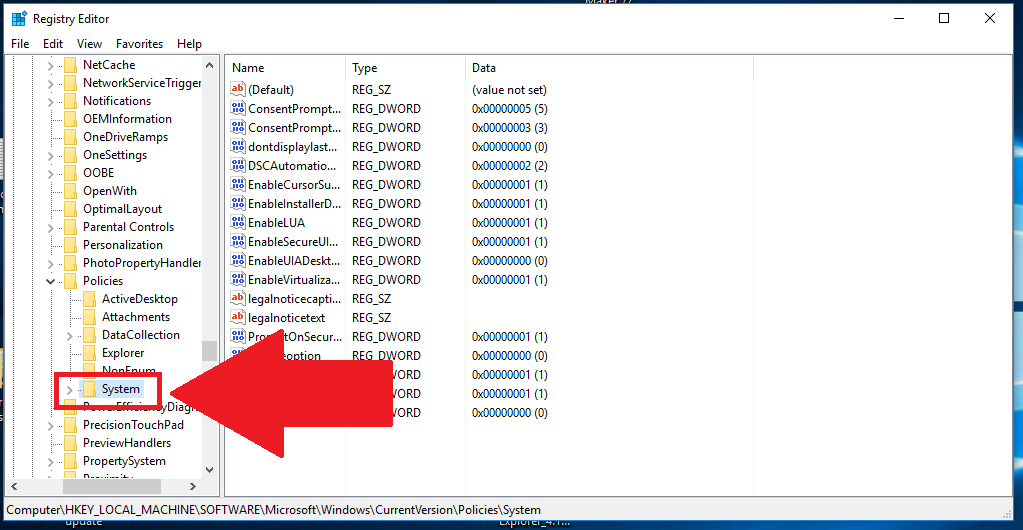
9. Single click on “System”
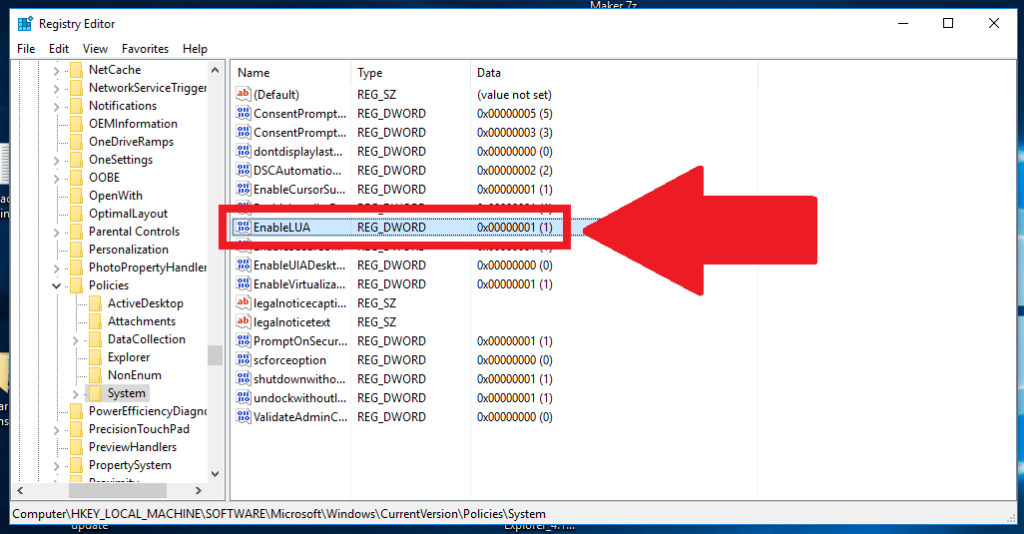
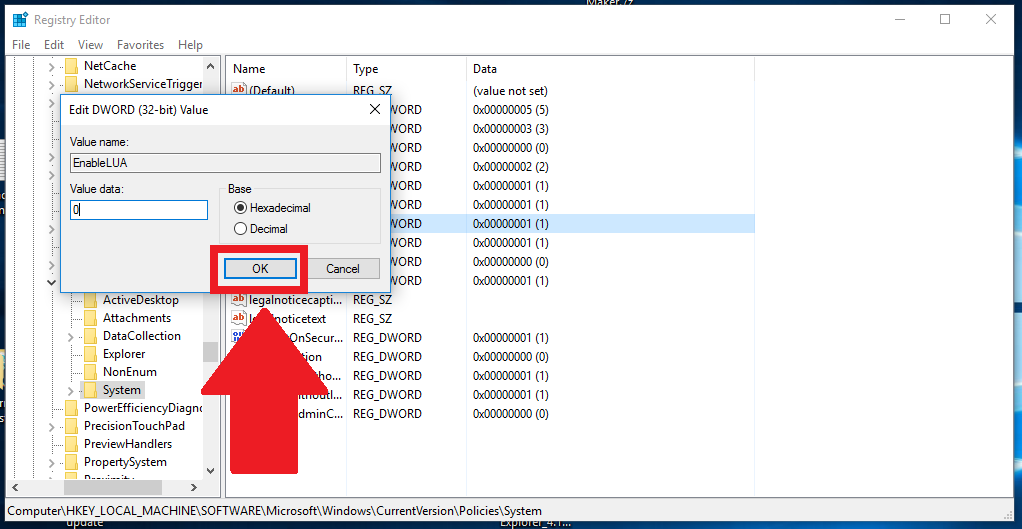
10. Double click on “EnableLUA” in the right pane.
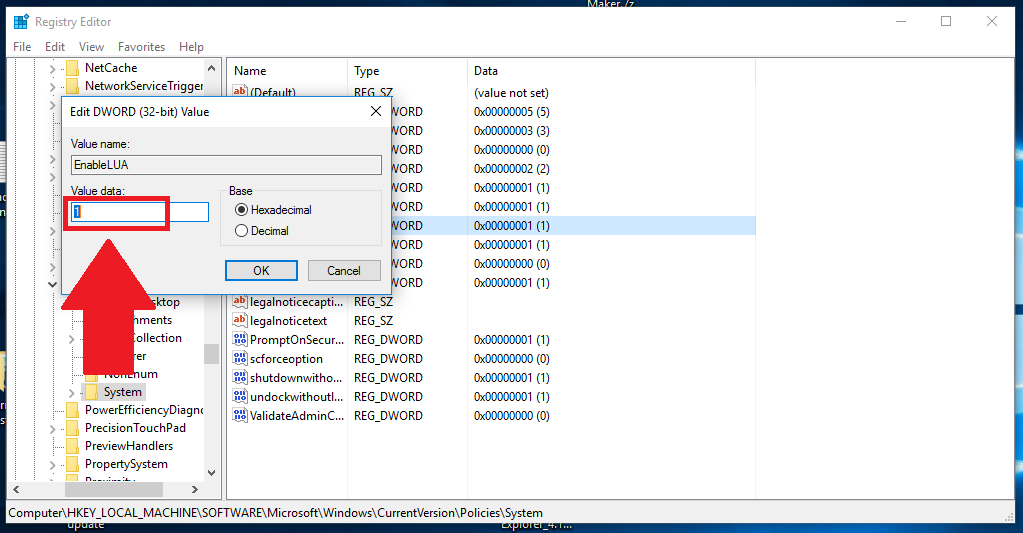
11. Change “Value data” from 1 to 0
12. Click on “OK”
13. Restart your computer.
Share this article via Facebook _ Twitter _ Pinterest _ GooglePlus _ Email _ Blogger _ WhatsApp






Comments
It's the best time to make some plans for the future and it's time to be happy.
I have read this post and if I could I desire to suggest you some
interesting things or tips. Perhaps you can write next
articles referring to this article. I desire to read even more things
about it!
Sure, you can email your suggestions to [email protected]