

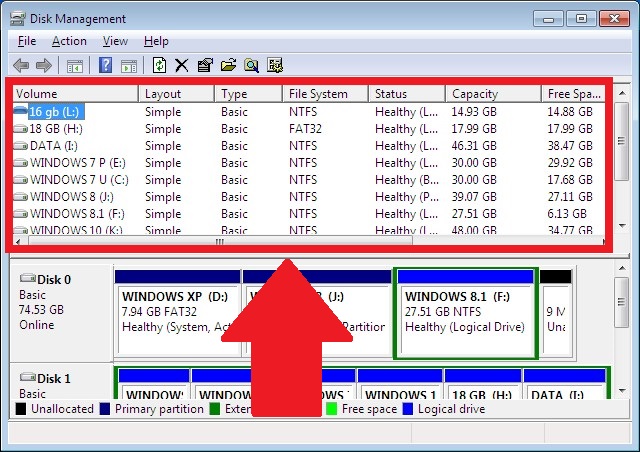
2. Click inside the upper box (See the screenshot beow).
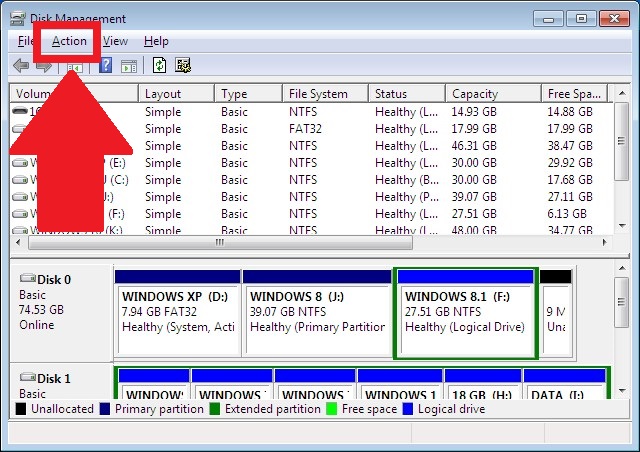
3. Now click on the Action menu.
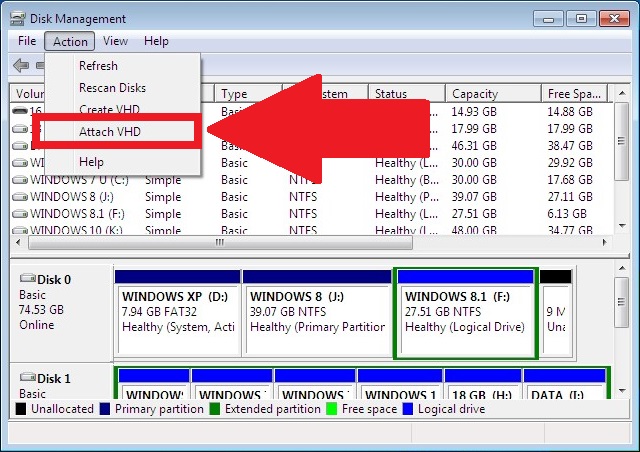
4. Select Attach VHD.
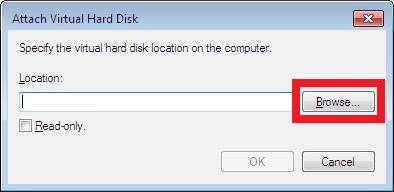
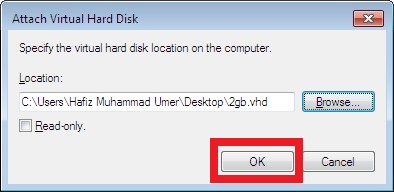
5. In the next window that opens, click on Browse
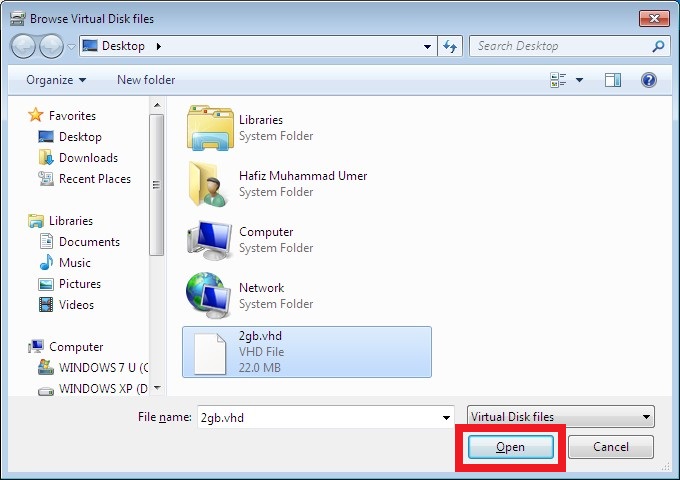
6. The Windows Explorer will open. Navigate to the folder which contains the virtual hard disk file (*.vhd) and select the virtual hard disk. Then press Open.
7. Click on Ok
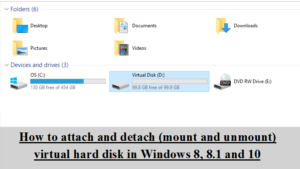
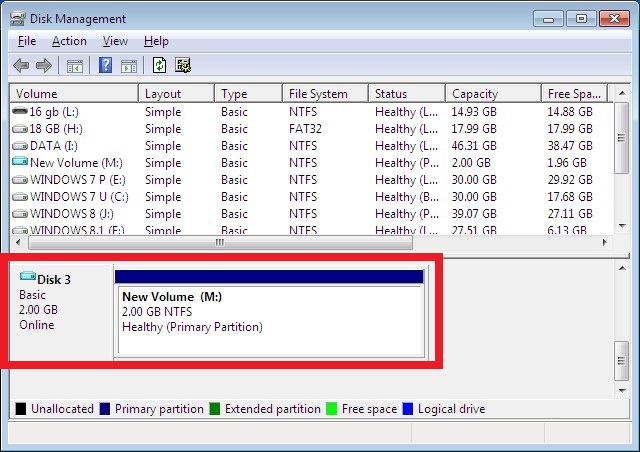
8. The virtual hard disk will be attached. You can see it listed in the Disk Management.
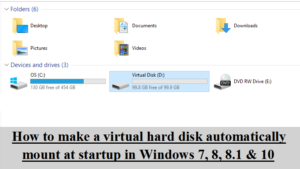
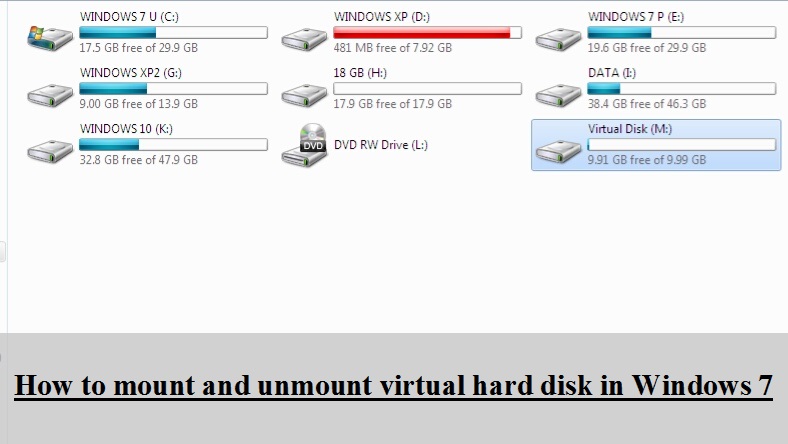
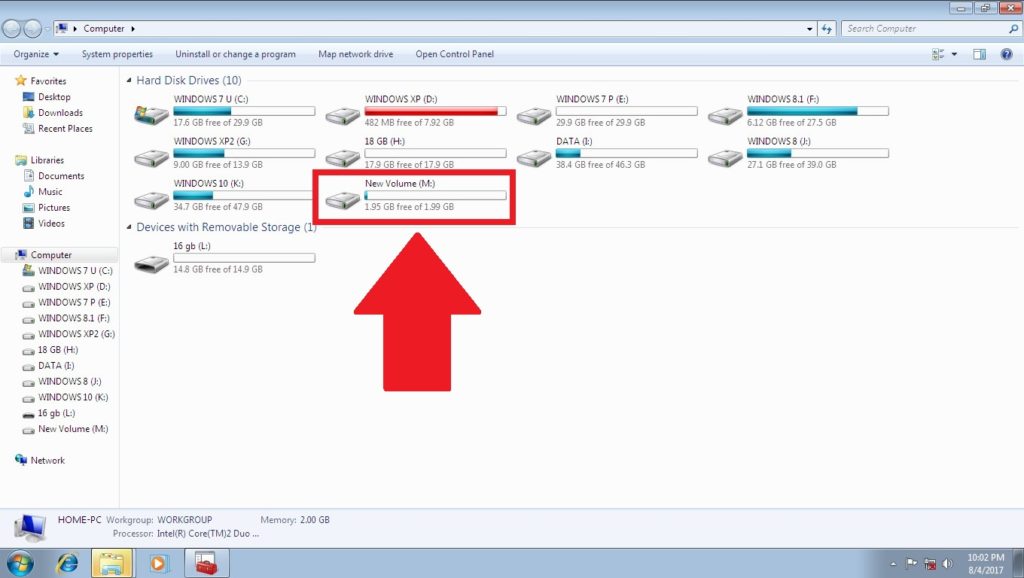
9. You can also open My Computer or This PC to confirm the presence of your virtual hard disk.
2. Right click the virtual hard disk and select Detach VHD.
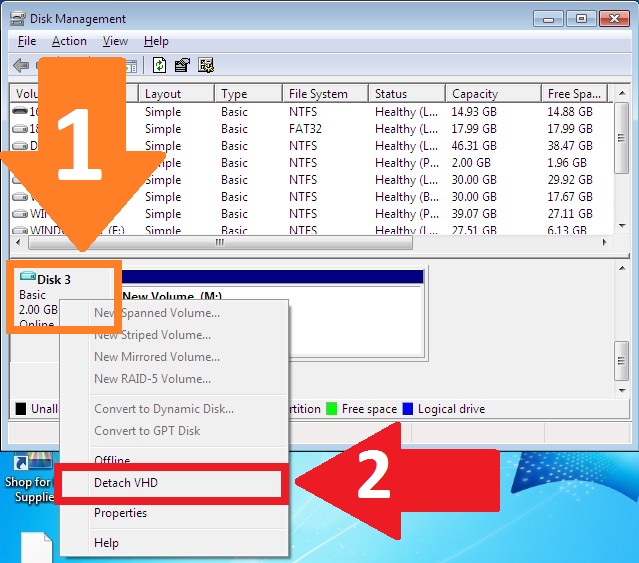
3. Click OK.
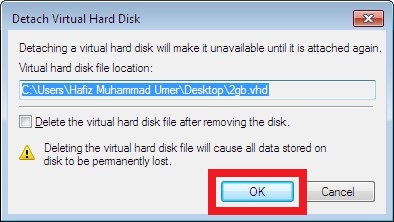
4. The virtual hard disk will be detached.

5. You can open My Computer to confirm that it is not present there.

Share this post via Facebook _ Twitter _ Pinterest _ GooglePlus _ Email _ Blogger _ WhatsApp